

17 Train Crafts for Preschool Kids
Train crafts suit preschoolers because the basic shape is simple: rectangles for cars, circles for wheels and a line to join them together. Along the way, children practice cutting, gluing, counting, naming shapes and colors, and putting things in order.
Below are 17 train crafts for children around 3 to 5, each with what you need, how to make it and one practical note. Most use cardboard, paper and paint you probably already have.
Before you start
Stay close and do the adult steps first
Preschoolers can glue, stamp, peel stickers and tear paper on their own, but many still need help with scissors. Do anything hot or sharp, such as hot glue or craft-knife cuts, before the child sits down, and let them decorate their own way.
Watch for small parts
Buttons, bottle caps, beads, googly eyes and pom-poms are choking hazards for children under 3. The CPSC small parts rule bans toys for under-3s with pieces that fit inside a test cylinder roughly the size of a young child’s throat. If younger siblings are around, use paper circles and drawn eyes instead, and count small pieces back in at cleanup.
Choose child-safe supplies
Look for the ACMI AP seal on paint, glue, markers and crayons: it means a toxicologist has reviewed the product, and ACMI recommends AP-seal products for children in sixth grade and younger. Washable paint and child-safe scissors make the session easier for everyone.
Set up for mess
Cover the table, put the child in an old shirt or smock, and keep a damp cloth or wipes within reach, especially for the handprint and footprint trains.
The 17 train crafts at a glance
| Craft | What it practices | Mess level | Adult help needed |
|---|---|---|---|
| Cardboard tube train | Painting, gluing | Medium | Punching holes, tying cars |
| Shape train | Naming shapes | Low | Cutting shapes for younger kids |
| Handprint train | Sensory play, keepsake | High | Painting the hand |
| Egg carton train | Painting | Medium | Cutting the carton |
| Number train | Counting, number order | Low | Writing numbers |
| Name train | Letters in their name | Low | Writing letters |
| Paper plate train | Gluing, coloring | Low | Cutting pieces |
| Matchbox train | Wrapping, linking | Low | Removing any matches |
| Craft stick train | Gluing, painting | Medium | Hot glue, if used |
| Cotton steam train | Texture, pulling apart | Low | Cutting the engine |
| Clothespin train | Hand strength | Low | Painting clothespins ahead |
| Bottle cap wheel train | Gluing | Medium | Attaching caps securely |
| Sticker train | Peeling, placing | Low | Drawing the outline |
| Sponge stamp train | Stamping | Medium | Cutting sponges |
| Tissue paper train | Tearing, gluing | Medium | Drawing the outline |
| Footprint train | Sensory play, keepsake | High | Painting the foot |
| Birthday age train | Counting to their age | Medium | Writing the number |
1. Cardboard Tube Train
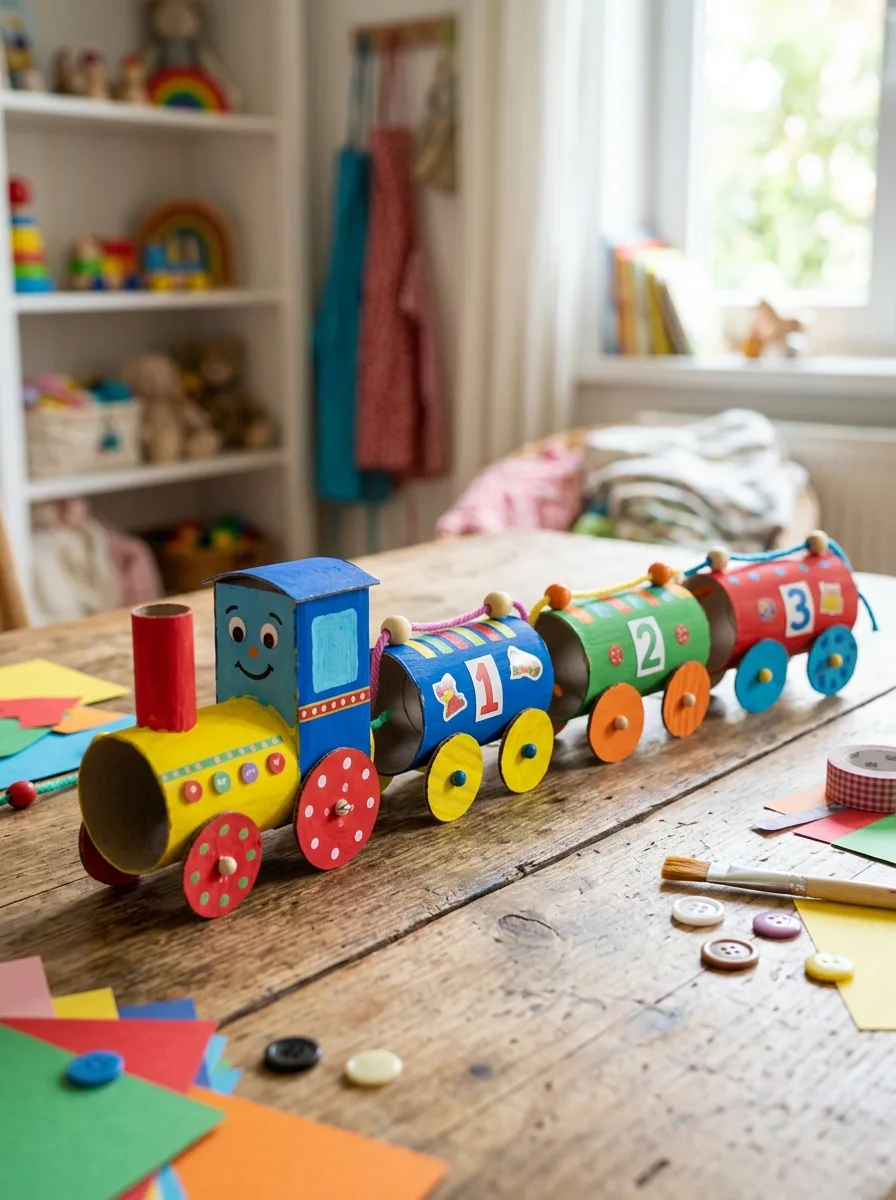
Paint paper towel or toilet paper tubes, or wrap them in colored paper, and let them dry. Glue on paper or cardboard wheels and a strip of paper for windows. To join the cars, punch a hole near each end and tie them together with short pieces of yarn. A short tube glued upright on the first car makes the engine’s smokestack.
Good to know: yarn holds up to pulling far better than tape. Keep the pieces between cars short, and do the hole punching yourself, since it takes more hand strength than gluing.
2. Shape Train
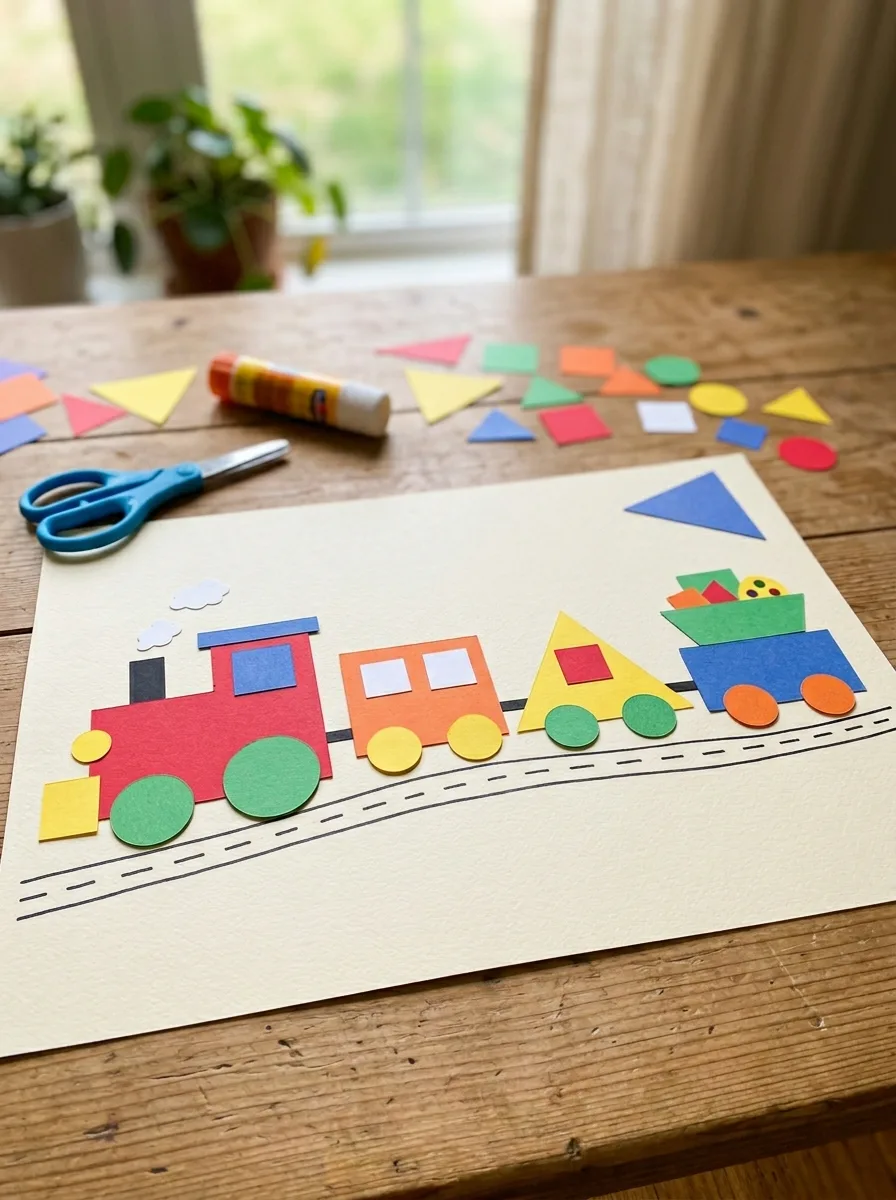
Cut squares and rectangles for the cars, circles for the wheels, a triangle for the cowcatcher (the angled guard at the front of the engine) and a small rectangle for the smokestack. Children glue the shapes onto a long strip of paper, naming each shape and color as they go. Precut shapes for younger children, and let older preschoolers cut along thick drawn lines.
Good to know: glue sticks are easier for small hands to control than liquid glue, and they wrinkle paper less. Ask questions as they work, such as how many circles the train has.
3. Handprint Train
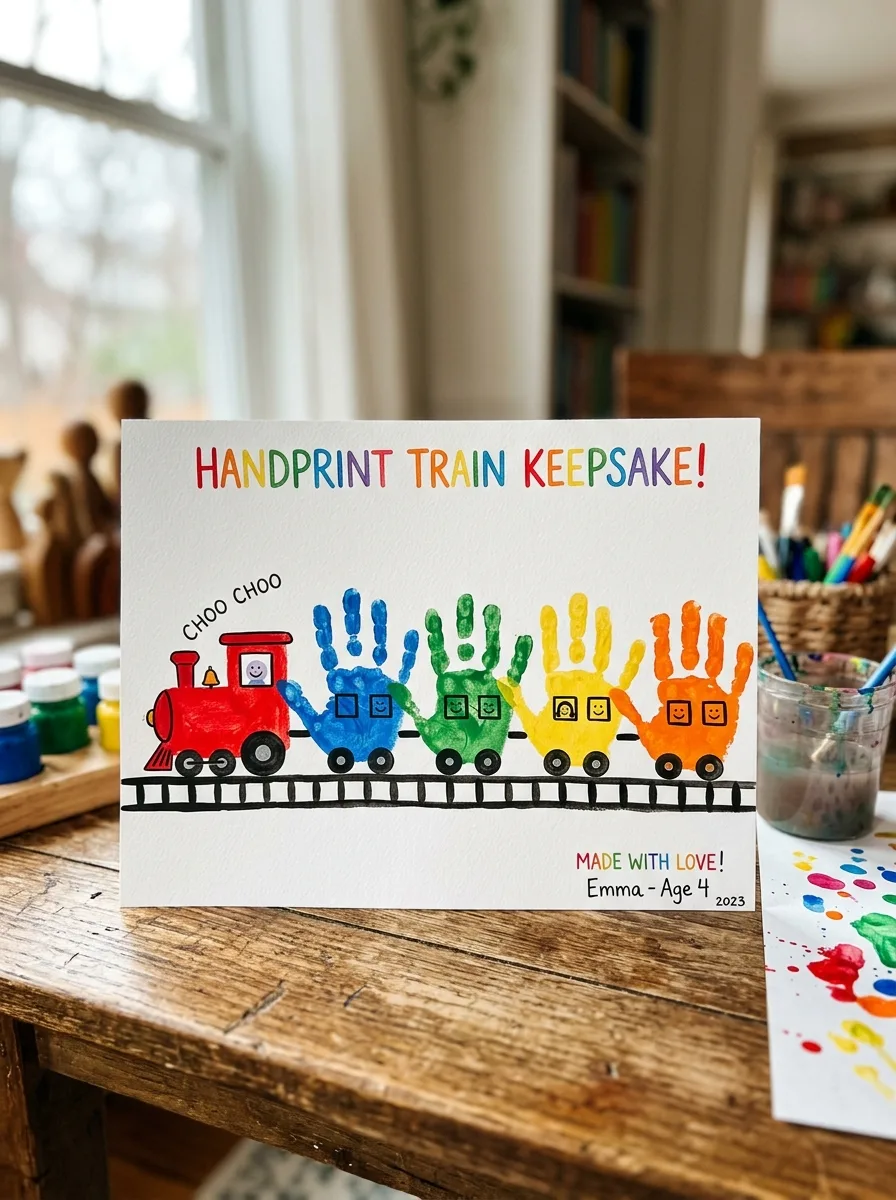
Brush washable paint onto the child’s palm and fingers, keep the fingers together, and press the hand sideways onto the paper so it looks like a train car. Repeat with a new color for each car. Once dry, add circle wheels, square windows and a smokestack with markers or paper, and write the child’s name and age on the back. These summer handprint crafts use the same technique.
Good to know: keep paint off the face and any broken skin, and have a bowl of soapy water and a towel ready before painting the hand, so you can wash it right after the last print.
4. Egg Carton Train
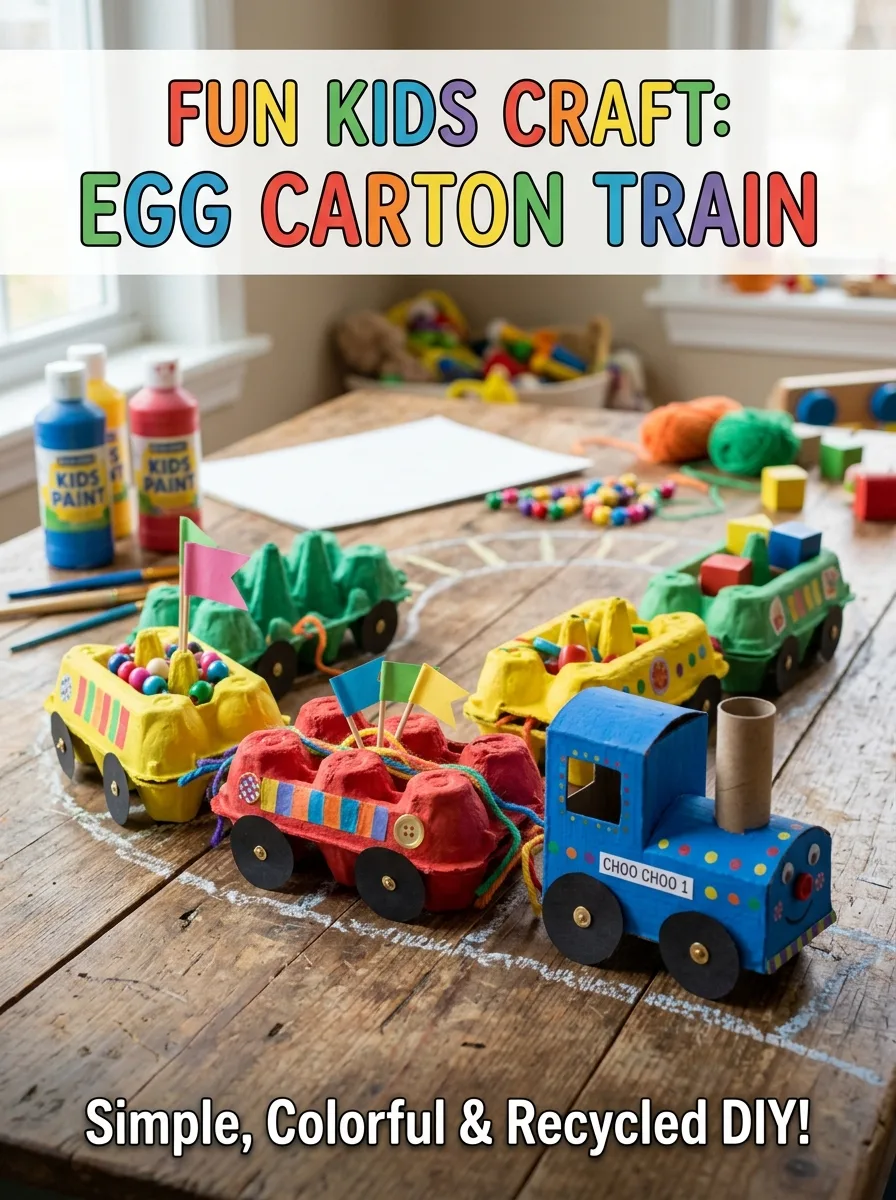
Cut a strip of cups from a cardboard egg carton and turn it upside down so each cup becomes a bumpy train car. Children paint the cups in bright colors. Once the paint is dry, glue on paper wheels and add a short cardboard tube or an extra cup to the front car as the engine.
Good to know: eggshells can carry salmonella, so use a clean carton with no egg residue or a new craft carton, and have everyone wash their hands afterward. Some child care programs don’t allow reused egg cartons, so check the rules if you teach.
5. Number Train
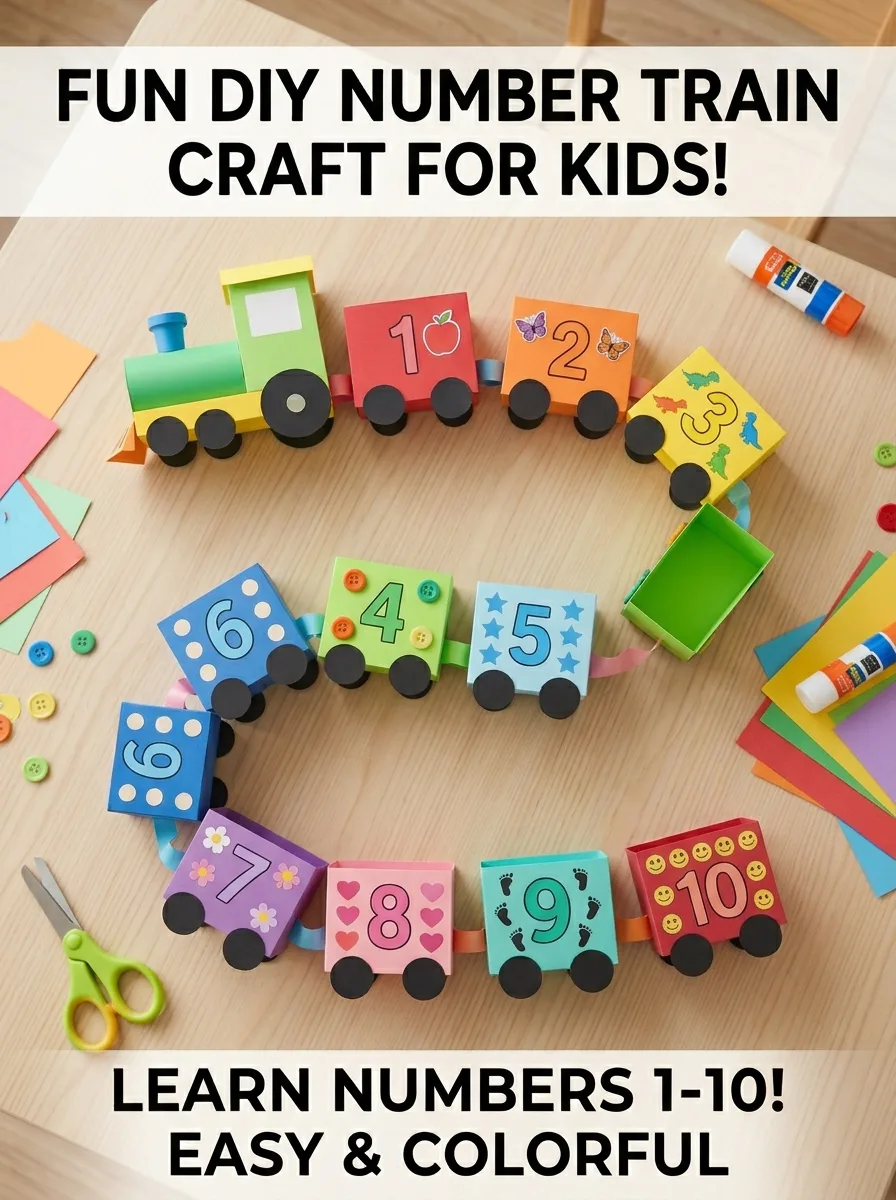
Cut ten train cars from colored paper and write a large number from 1 to 10 on each. Children put the cars in order, glue them onto a long strip of paper, and add the matching number of dots, stickers or wheels to each car. For younger children, start with 1 to 5 and add more later.
Good to know: lay out all the cars and check the order before anything is glued; a car in the wrong place is hard to move once it’s stuck down.
6. Name Train
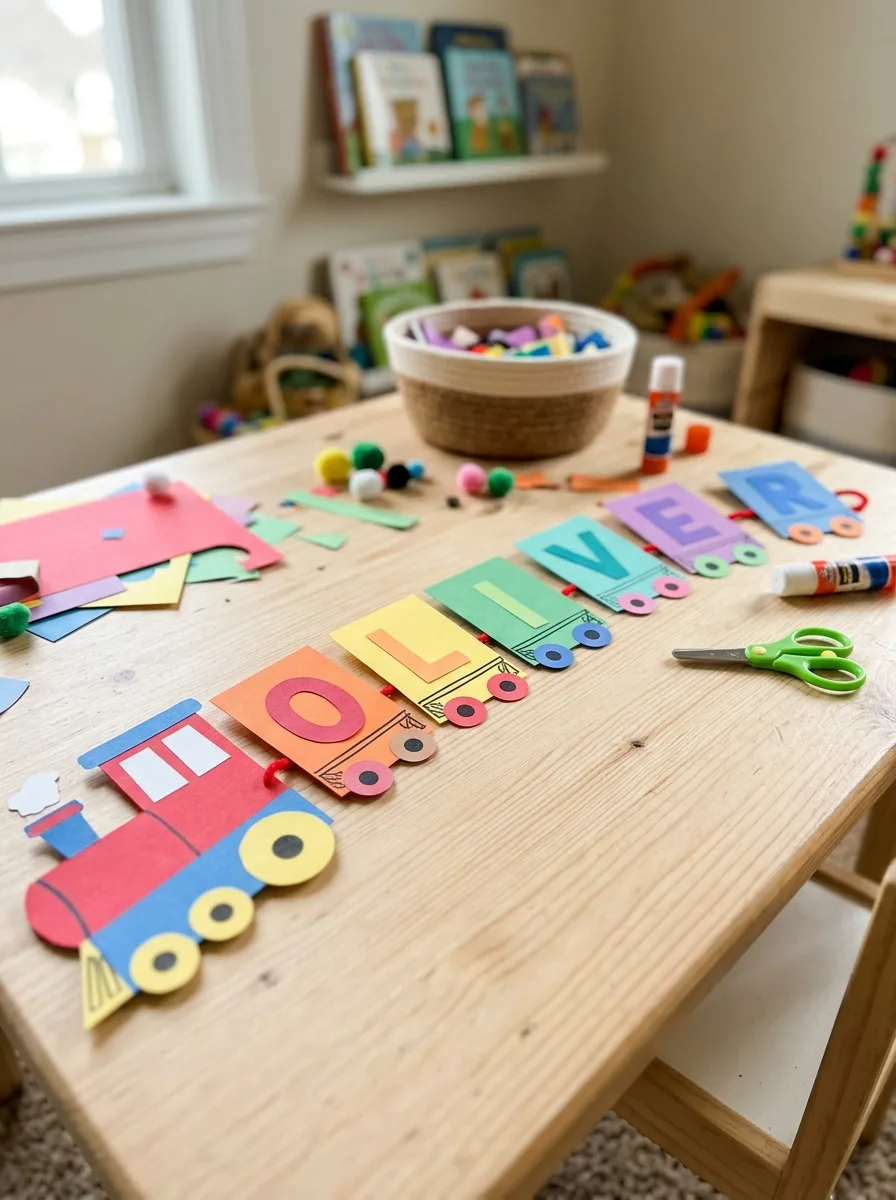
Cut one car for each letter of the child’s name, plus an engine, and write one large letter on each car. Children decorate the cars, put them in order by matching a name card you have written, then glue them onto a strip of paper or tape them to the wall. For more letter practice, try these letter R crafts.
Good to know: use a capital for the first letter and lowercase for the rest, the way children will see their name written at school, and let them match letters to the name card rather than spell from memory.
7. Paper Plate Train
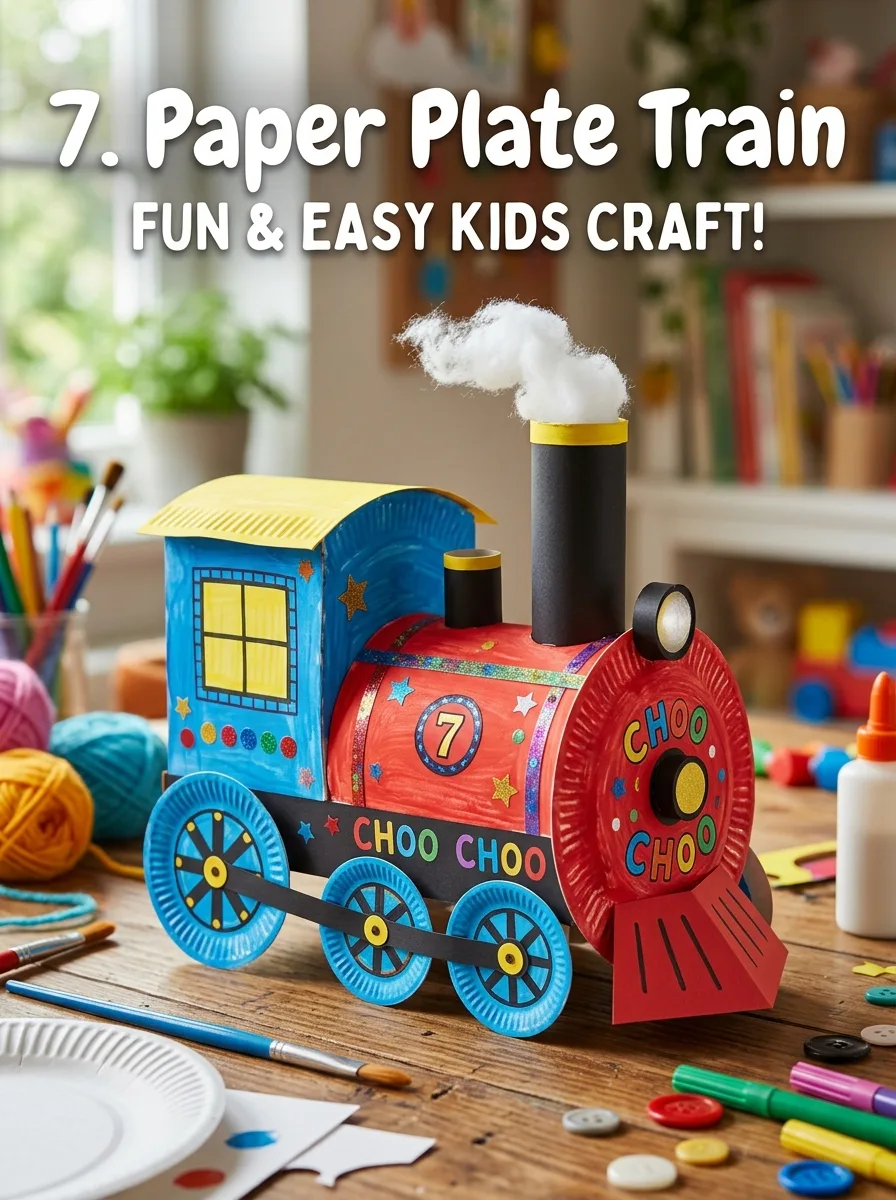
Use a paper plate as the round front of the engine, or cut one in half for a curved car. Glue on a square paper cab, a paper or cardboard tube smokestack and circle wheels, then let children paint or color it. Hang several plates in a row along a wall to make a long train.
Good to know: thin paper plates go soggy under wet paint, so use sturdier plates or crayons and markers, and let painted plates dry flat before gluing on the extras.
8. Matchbox Train
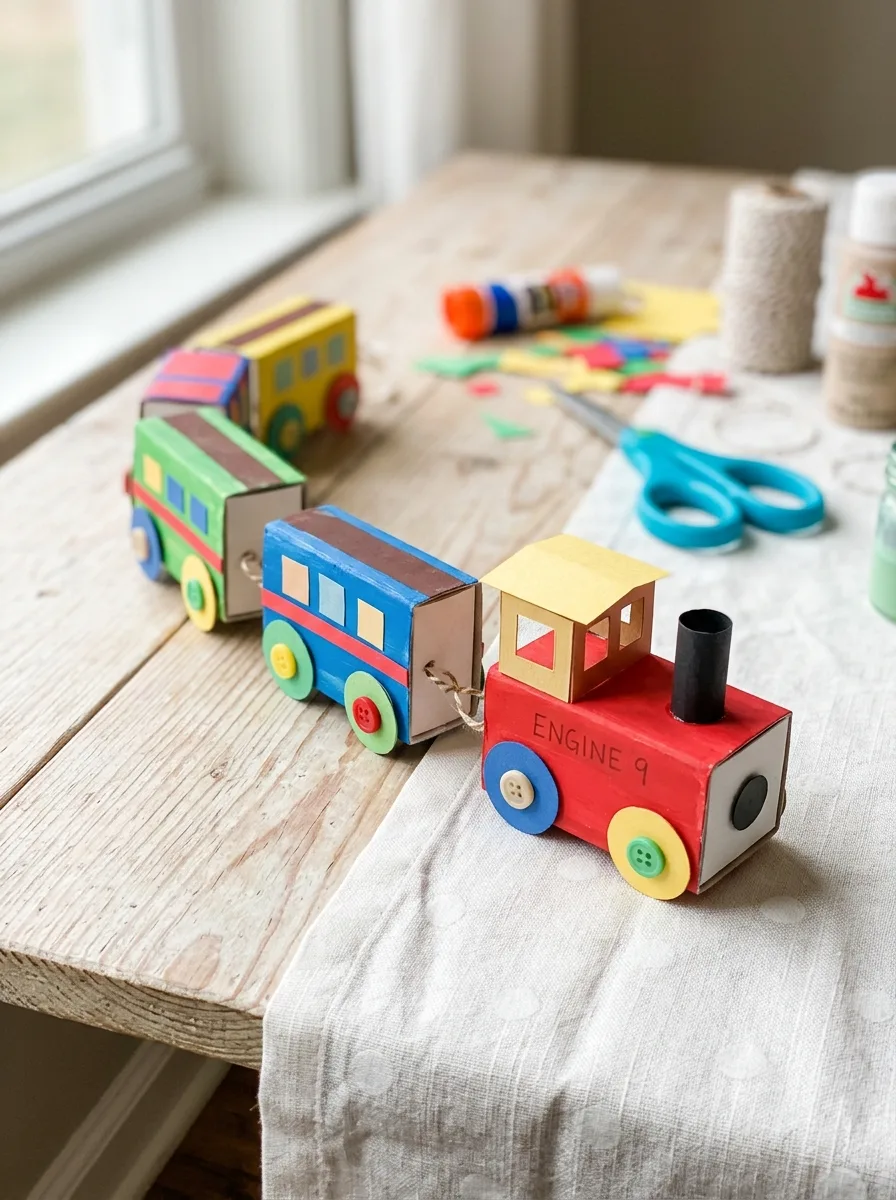
Wrap small boxes, such as empty matchboxes, jewelry boxes or little gift boxes, in colored paper or paint them. Glue on paper wheels and windows, then join the boxes with short pieces of yarn or ribbon. The result is a small train that fits on a shelf or tabletop for pretend play.
Good to know: if you use matchboxes, an adult should remove every match first and keep matches out of reach; small craft boxes avoid the issue entirely.
9. Craft Stick Train
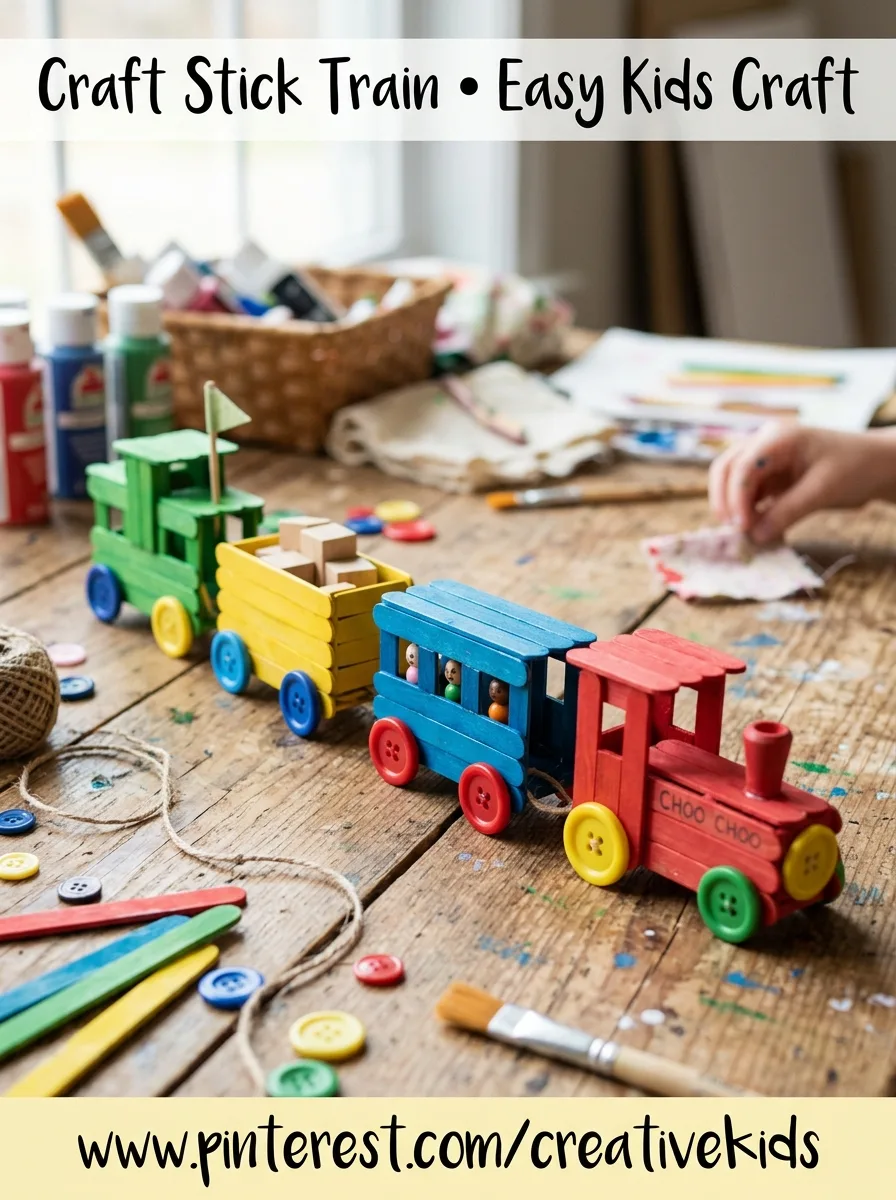
Glue craft sticks side by side to make each car, or build a rectangle frame, and let the glue dry before painting. Add paper wheels, a shorter stick for the smokestack, and join the cars with more sticks or yarn. White school glue holds the sticks, or an adult can use a glue gun away from the children.
Good to know: white glue takes a while to set on wood, so build the cars one day and paint them the next. Button wheels look good, but buttons are a choking hazard for children under 3.
10. Cotton Steam Train
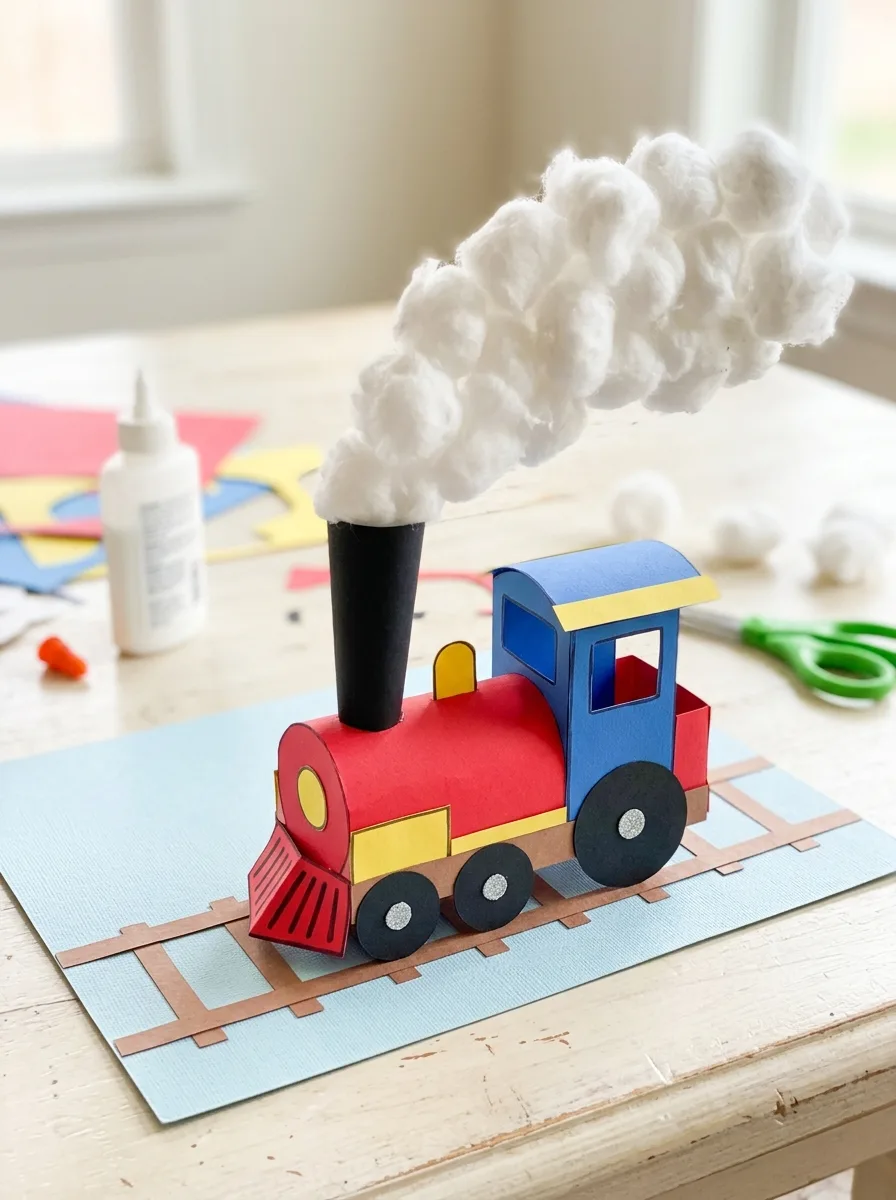
Cut a train engine from paper with a tall smokestack and glue it near the bottom of the page. Children pull cotton balls apart into soft puffs and glue them in a trail rising from the smokestack, making the puffs smaller as they go up. Add a track and wheels with marker.
Good to know: pulling cotton apart is good finger practice, but watch children who still put things in their mouths, and use a glue stick or a little white glue so the puffs don’t get soaked.
11. Clothespin Train
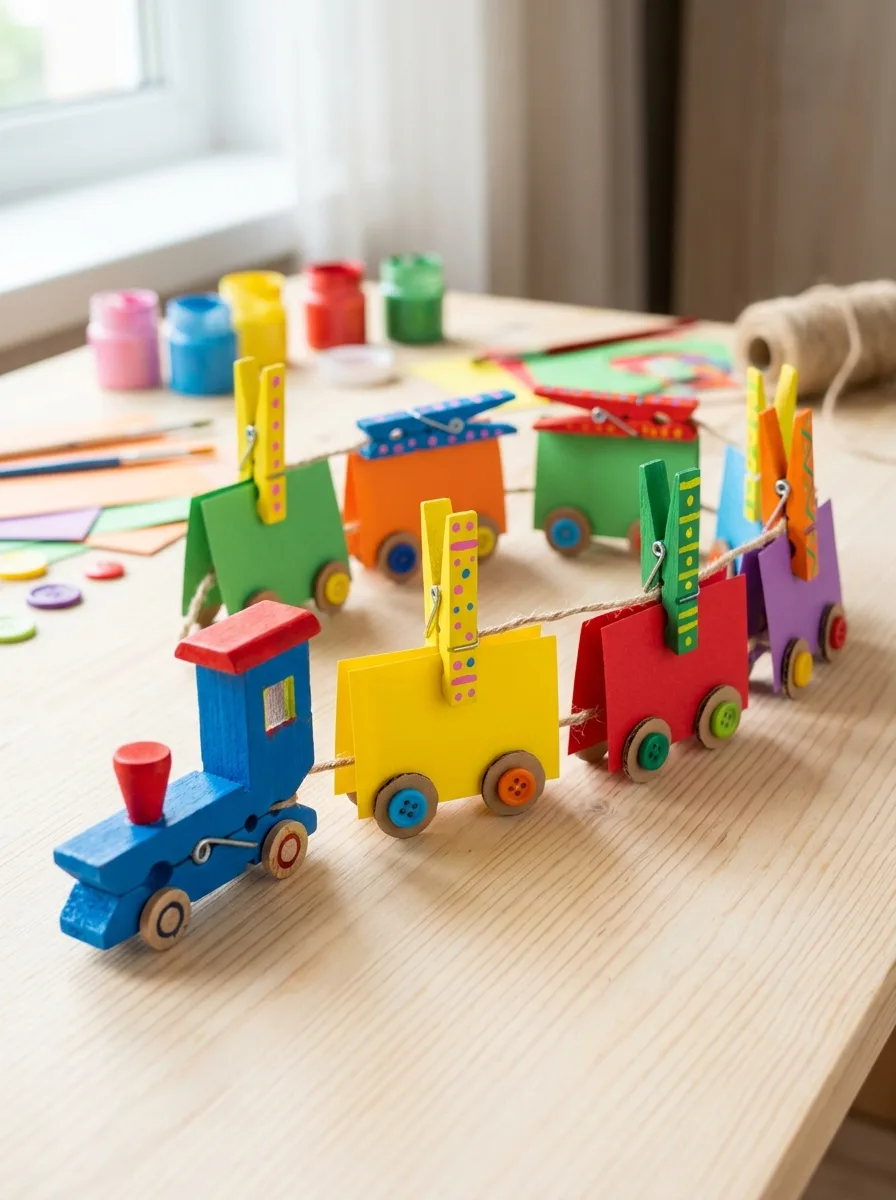
Paint wooden clothespins in train colors ahead of time, or use colored plastic ones. Cut train cars from cardstock, and have children clip two clothespins to the bottom of each car as wheels, or clip the cars together in a row. They can unclip and rearrange the train again and again.
Good to know: show children where to squeeze so fingers stay clear of the jaws, and choose clothespins with a gentle spring for younger hands.
12. Bottle Cap Wheel Train
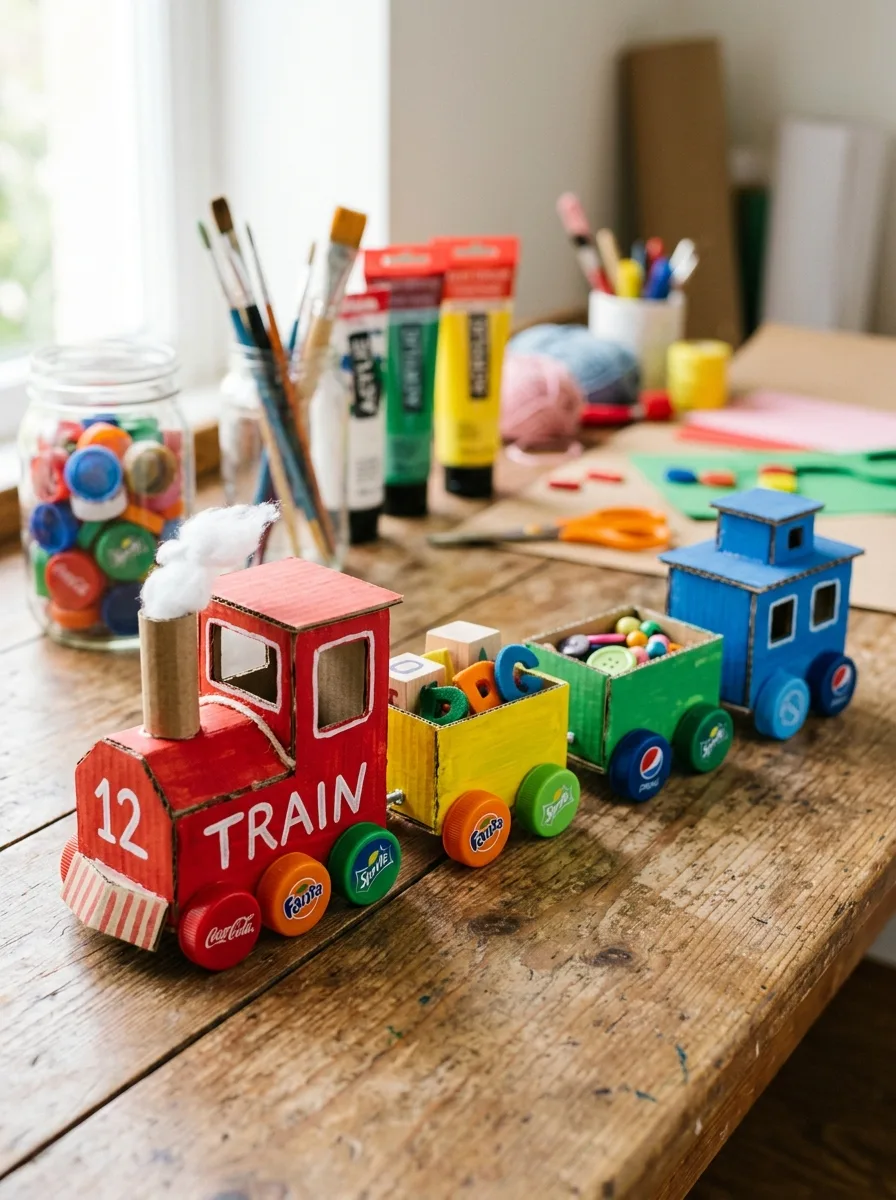
Cut train cars from cardboard and let children paint or color them. Glue plastic bottle caps along the bottom edge as wheels, using strong glue or a glue gun handled by an adult, and add one cap on top as the smokestack. Collecting caps in several colors makes a brighter train.
Good to know: bottle caps are small enough to be a choking hazard for children under 3, so check that every cap is firmly stuck and count loose caps back in at cleanup. Plastic caps have no sharp edges, unlike metal ones.
13. Sticker Train
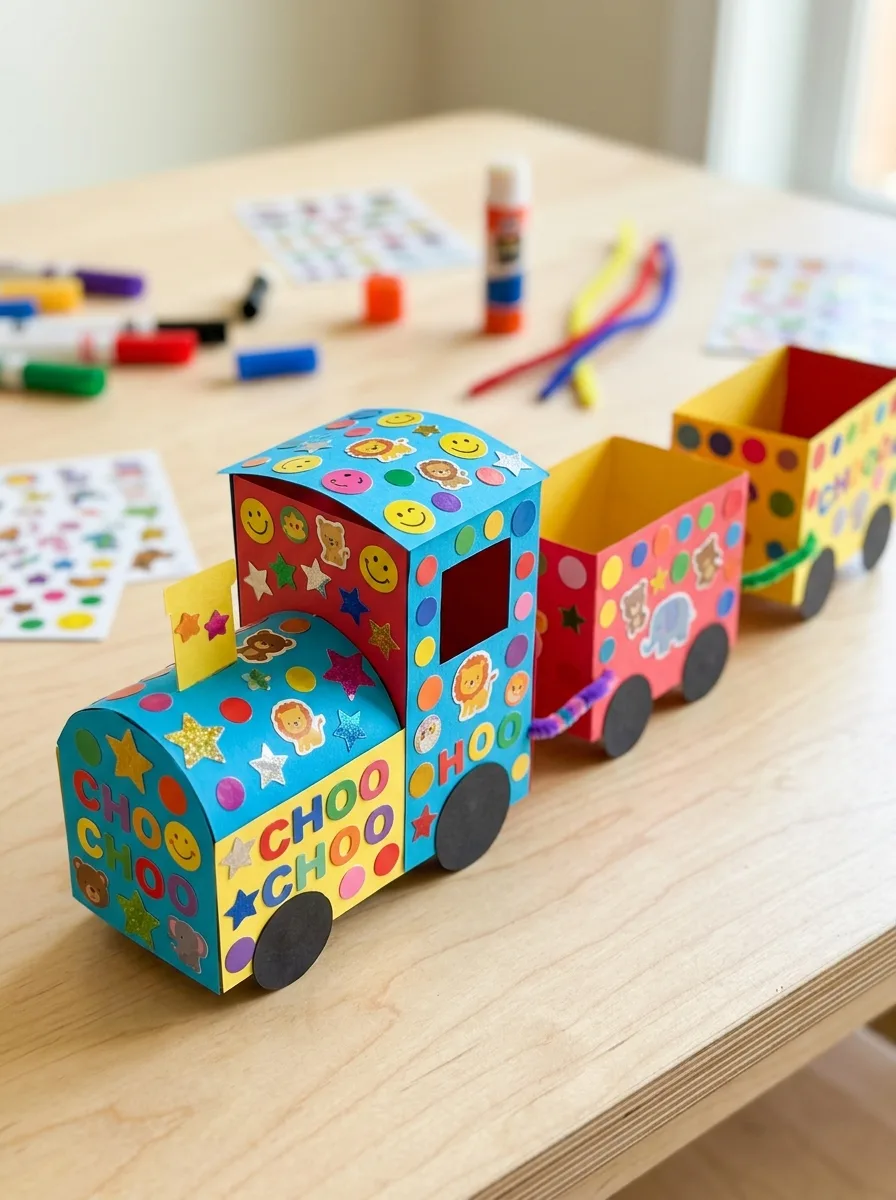
Draw or print a simple train outline with large cars. Give children a sheet of stickers, such as dots, stars or shapes, to fill each car, and use round stickers for wheels. There is no glue or paint to clean up, so this one works well when time is short.
Good to know: large stickers are easier for small fingers. Bend the backing sheet or lift an edge to get beginners started, and keep stickers away from babies who might put them in their mouths.
14. Sponge Stamp Train
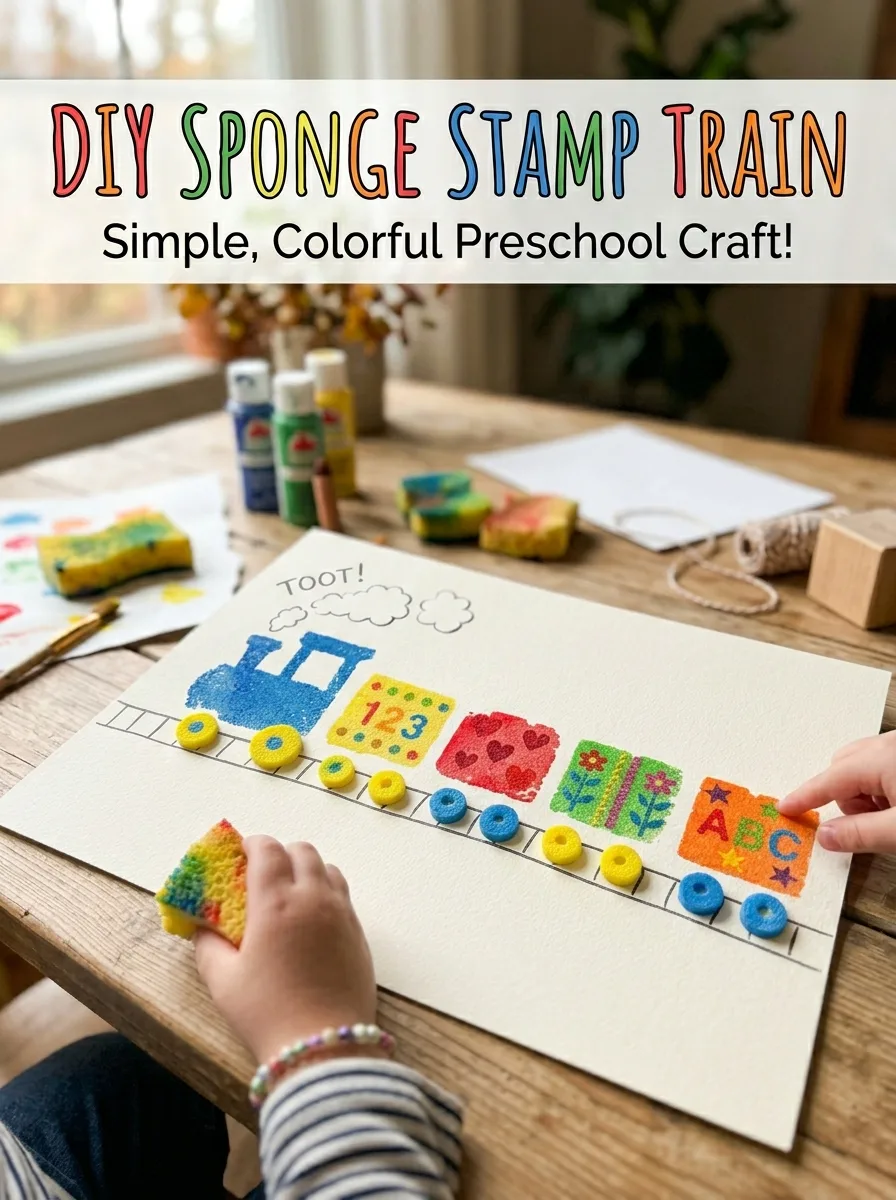
Cut kitchen sponges into rectangles for cars and small squares or circles for wheels. Pour thick washable paint onto paper plates, and show children how to press the sponge into the paint, then onto the paper, lifting straight up. Stamp the cars in a row, add wheels, and draw windows and a smokestack once the paint is dry.
Good to know: use new sponges kept for crafts, dampen and squeeze them out before dipping, and tap off extra paint; too much paint turns the print into a blob.
15. Tissue Paper Train
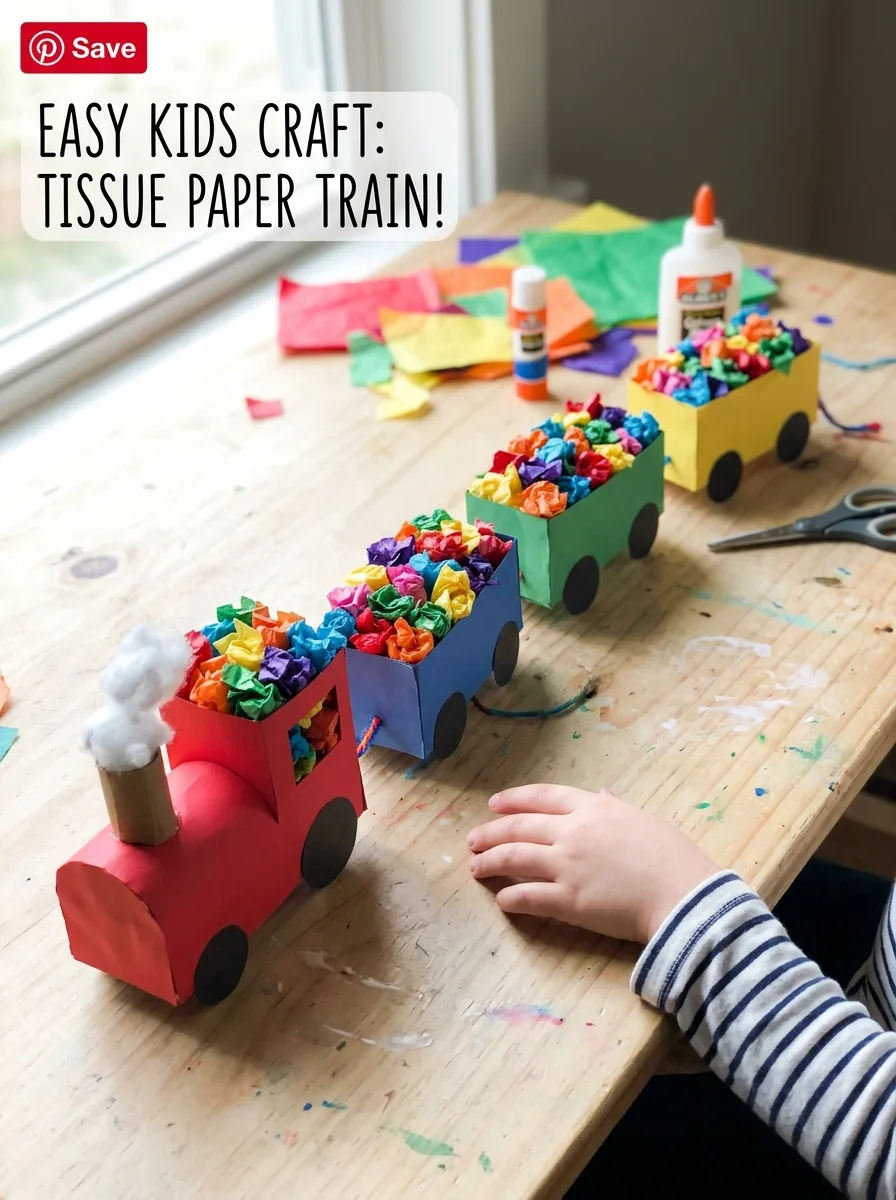
Draw a large train outline on paper or cardstock. Children tear or cut tissue paper into small pieces, scrunch them into balls or leave them flat, and glue them inside the outline with a glue stick or brushed-on white glue. Filling each car with a different color makes a bright, textured train.
Good to know: some tissue paper colors bleed when wet and can stain hands, clothes and tables, so test a scrap first if you plan to brush on watery glue.
16. Footprint Train
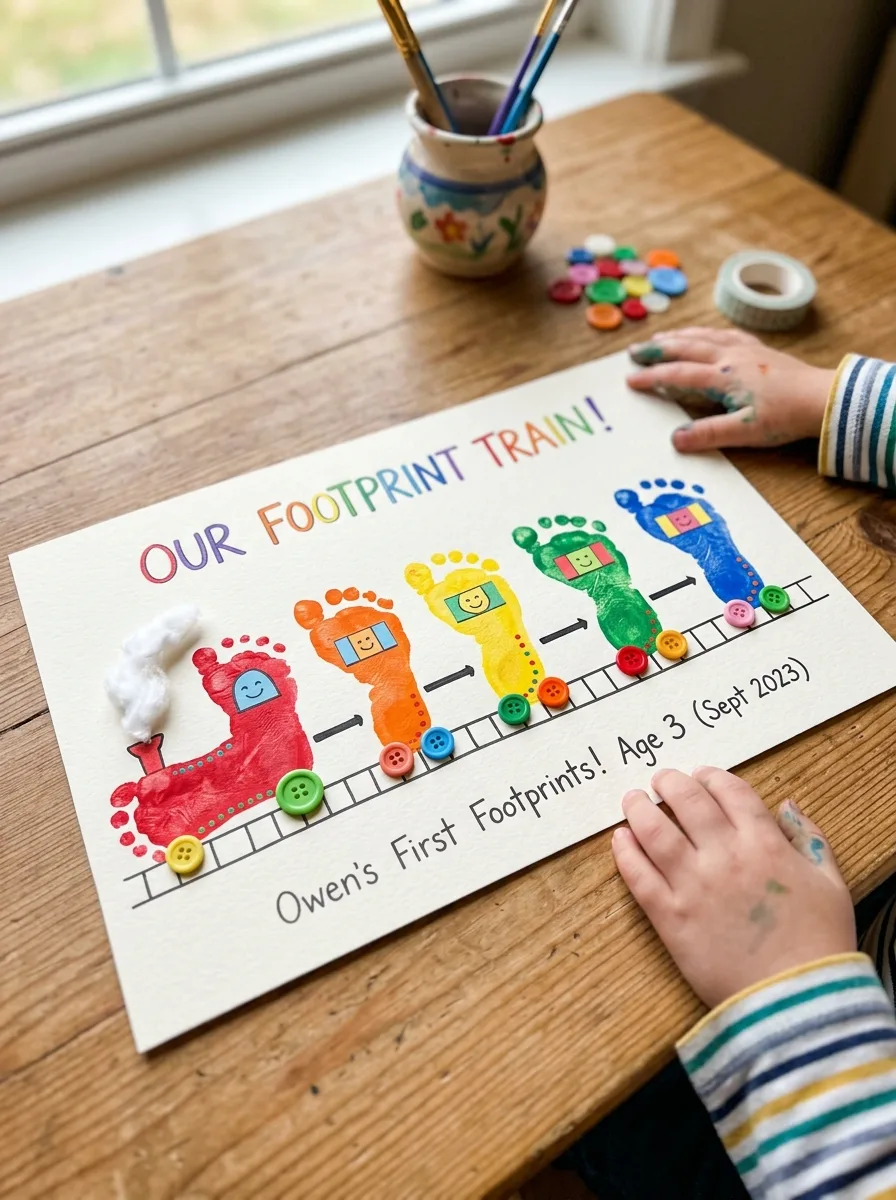
Brush washable paint onto the sole of the child’s foot and press it flat onto heavy paper while you hold the paper steady. Repeat in a row for the cars, with a handprint or drawn engine at the front. Add wheels and windows once dry, and write the child’s name and the date on the back.
Good to know: do footprints with the child sitting in a chair and the paper on the floor, and wipe the foot clean before they stand up; painted feet are slippery on hard floors.
17. Birthday Age Train
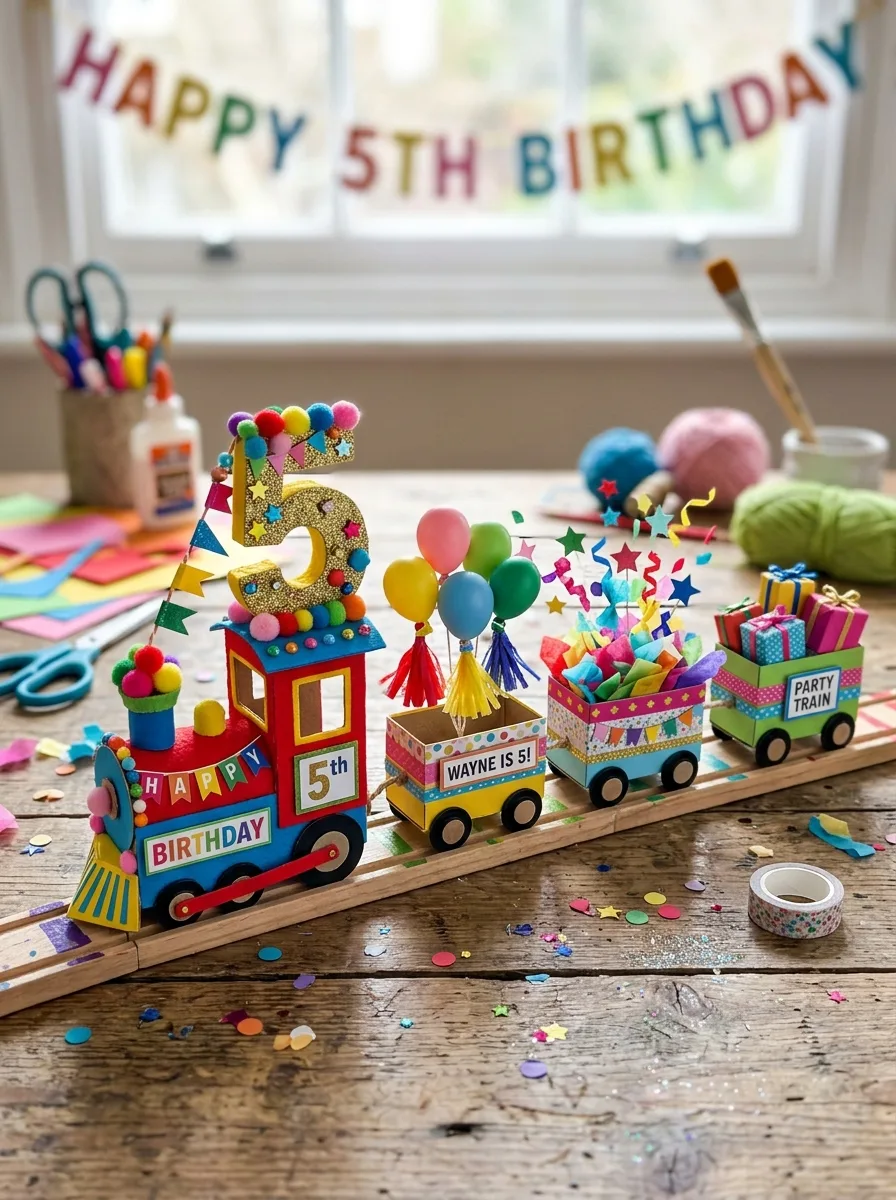
Cut an engine and one car for each year of the child’s new age, and write that age as a large number on the engine. Children decorate the cars with stickers, paper balloons and drawn candles, then count the cars to check they match the number. Hang the train at the party or keep it with birthday photos.
Good to know: skip loose glitter and confetti with young children; they spread everywhere and are hard to clean up. Glitter glue and stickers give the same party look with less mess.
Common mistakes to avoid
- Leaving buttons, beads, bottle caps or googly eyes where children under 3 can reach them.
- Buying paint, glue or markers without checking the label for the ACMI AP seal.
- Using hot glue or a craft knife with children close by.
- Letting a child stand up on a hard floor with painted feet.
- Reusing egg cartons with raw egg residue.
- Doing the craft for the child instead of letting them choose colors and place the pieces.
Train craft FAQs
What age are these train crafts for?
Most suit children around 3 to 5. Two-year-olds can join the sticker, sponge stamp and handprint trains with an adult helping, as long as small parts are kept away from them.
What are the easiest train crafts for 3-year-olds?
The sticker, sponge stamp, cotton steam and tissue paper trains need no cutting by the child and little glue.
How do train crafts help with early learning?
The shape train practices naming shapes, the number and birthday trains practice counting and number order, and the name train helps children recognize the letters in their own name.
How can I keep the mess down?
Cover the table, use a smock, choose glue sticks over liquid glue, and put out only a little paint at a time in shallow trays. Keep a damp cloth on the table for quick wipes.


2 Comments