

25 Star Pattern Painting Ideas That Shine
Stars are one of the easiest shapes to repeat, which makes them a good starting point for pattern painting. The same few marks, a five-point star, a four-point sparkle and a dot, can fill a canvas, a journal page, a gift tag or a tote bag.
Below are 25 star pattern painting ideas, each with the surface and paint that suit it, the main steps and one practical tip. Start with the basics on paint, planning and finishing.
Before you start
Match the paint to the surface
Acrylic works on canvas, canvas panels, wood and card, dries quickly and cleans up with water while it’s wet. Watercolor needs watercolor paper. Paint pens are the easiest tool for very small stars on paper, and fabric needs fabric paint.
Plan the stars before you paint
Mark star positions lightly in chalk on dark backgrounds or pencil on light ones. A pattern looks more natural with a few large stars, more medium ones and many small ones than with stars of one size in a neat grid.
Let acrylic dry before you varnish
Golden Artist Colors suggests waiting a day or two before an isolation coat on thin acrylic and another two days to a week before varnish. Spray varnishes and sealers release solvent vapors, so the EPA advises increasing ventilation and following label precautions; spray outdoors when you can.
Choose child-safe paint for kids
Several of these ideas, such as stamped, splatter and glitter stars, suit children. Look for the ACMI AP seal on paints, glues and markers for kids in sixth grade and younger, and never give children in grade 6 or lower a product with the CL seal.
The 25 ideas at a glance
| Idea | Surface | Paint or tool | Skill level |
|---|---|---|---|
| Watercolor stars | Watercolor paper | Watercolor, masking fluid | Beginner |
| Gold stars | Canvas or card | Metallic paint, paint pen or foil | Beginner |
| Starry night sky | Canvas | Acrylic, toothbrush | Beginner |
| Galaxy stars | Canvas | Acrylic, sponge | Intermediate |
| Shooting stars | Canvas | Acrylic | Beginner |
| Geometric stars | Canvas or panel | Acrylic, tape | Intermediate |
| Pastel stars | Canvas or paper | Acrylic | Beginner |
| Constellations | Canvas | Acrylic, liner brush or paint pen | Beginner |
| Rainbow stars | Paper or canvas | Acrylic or tempera | Beginner, kids |
| Scattered mini stars | Paper, cards, tags | Paint pen | Beginner |
| Star mandala | Square canvas or paper | Acrylic, compass | Intermediate |
| Doodle stars | Paper | Paint pen or fine brush | Beginner |
| Splatter stars | Paper or canvas | Acrylic or tempera, stencils | Beginner, kids |
| Ombre stars | Canvas or paper | Acrylic | Beginner |
| Stamped stars | Paper, fabric | Tempera, acrylic or fabric paint | Beginner, kids |
| Starbursts | Canvas | Acrylic, liner brush | Intermediate |
| Neon stars | Canvas | Fluorescent acrylic or paint pens | Beginner |
| Nordic stars | Canvas or panel | Acrylic | Intermediate |
| Glitter stars | Card or paper | Glue, glitter | Beginner, kids |
| Moon and stars | Canvas | Acrylic | Beginner |
| Star clusters | Canvas | Acrylic | Beginner |
| Vintage stars | Canvas or wood panel | Acrylic, umber glaze | Intermediate |
| Tie-dye stars | Paper or canvas | Watercolor or fluid acrylic | Beginner |
| Checkered stars | Canvas or panel | Acrylic, ruler or tape | Intermediate |
| Northern lights | Canvas | Acrylic, sponge | Intermediate |
1. Watercolor Star Pattern

Watercolor stars work best when the stars stay as white paper. Draw small stars lightly in pencil on watercolor paper and fill them with masking fluid. When it’s dry, wet the paper and drop in blues, purples and pinks, letting them blend. Once the paper is completely dry, rub off the mask and leave the stars white or tint them pale yellow.
Good to know: Winsor & Newton says to apply masking fluid only to dry paper with an old brush and to wash the brush in soapy water straight after; a dip pen is easier for very small stars.
2. Gold Star Pattern
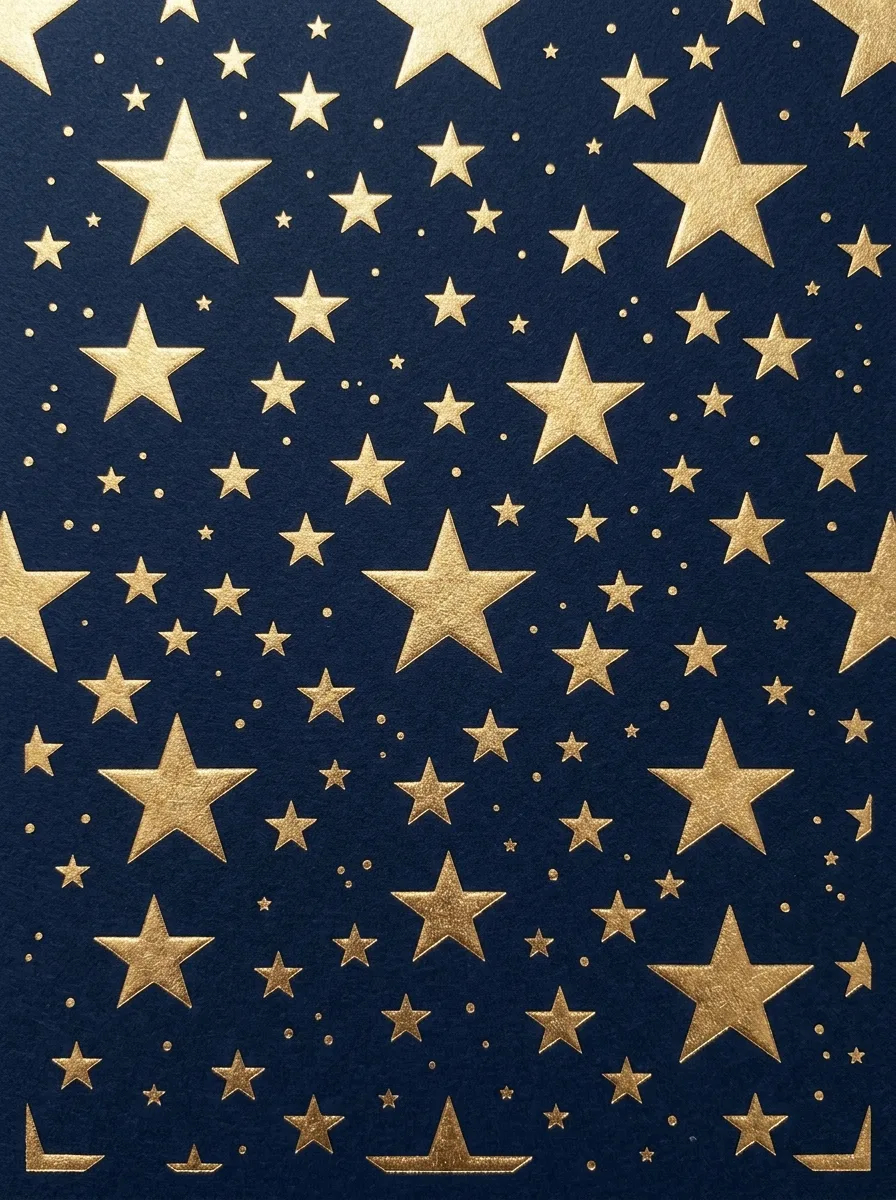
Gold stars show up best on a dark or deep background such as navy, black, forest green or deep blush. Paint the background and let it dry fully. Add stars in three or four sizes with gold acrylic, a gold paint pen or adhesive foil, placing the large ones first and filling the gaps with small ones.
Good to know: metallic paint often needs two coats to look solid on a dark background; a first coat of yellow ochre under the gold helps it look brighter.
3. Starry Night Sky
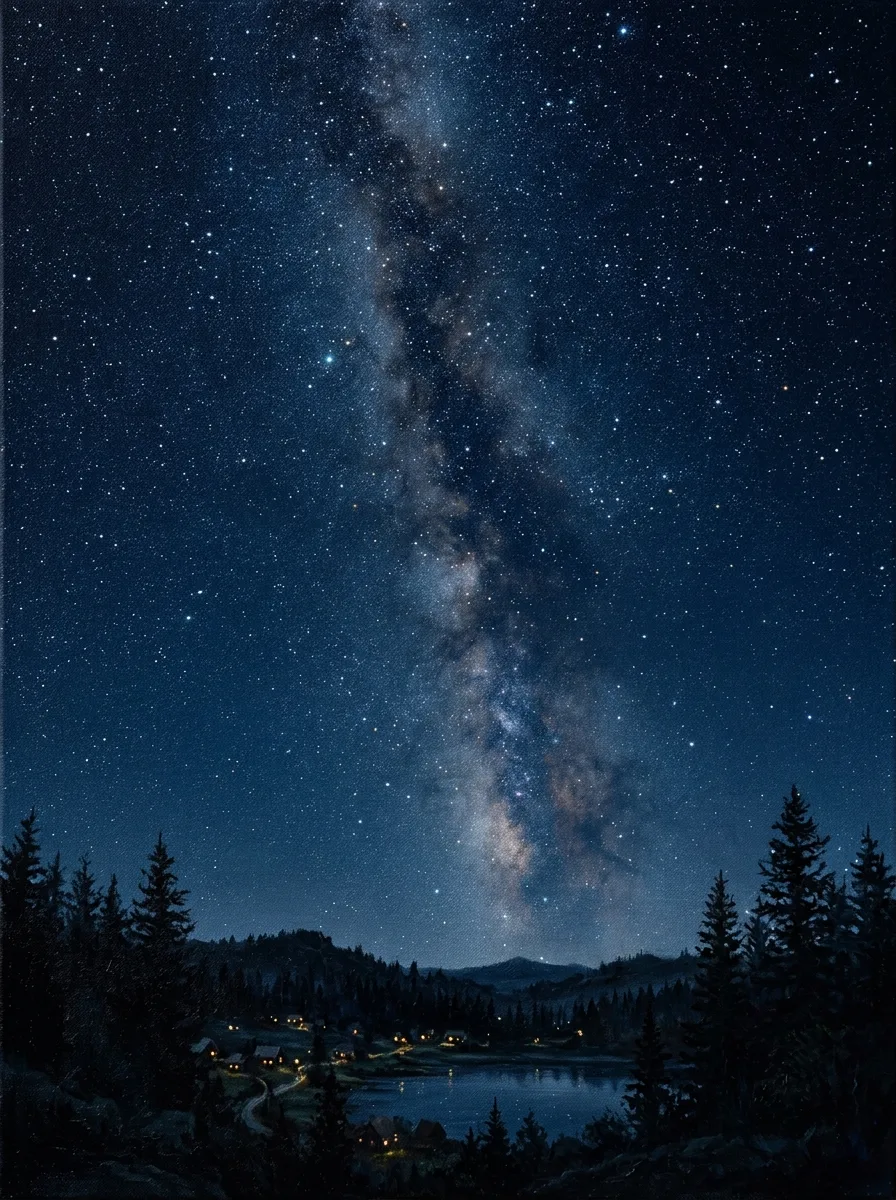
A starry sky is a dark background and stars in a few sizes. Paint the canvas deep blue or black, slightly lighter toward the bottom edge. When it’s dry, flick tiny white specks from an old toothbrush, dot medium stars with the end of a brush handle, then add a few larger stars with four thin points.
Good to know: real skies have far more faint stars than bright ones, so keep the large, pointed stars to a handful.
4. Galaxy Star Pattern
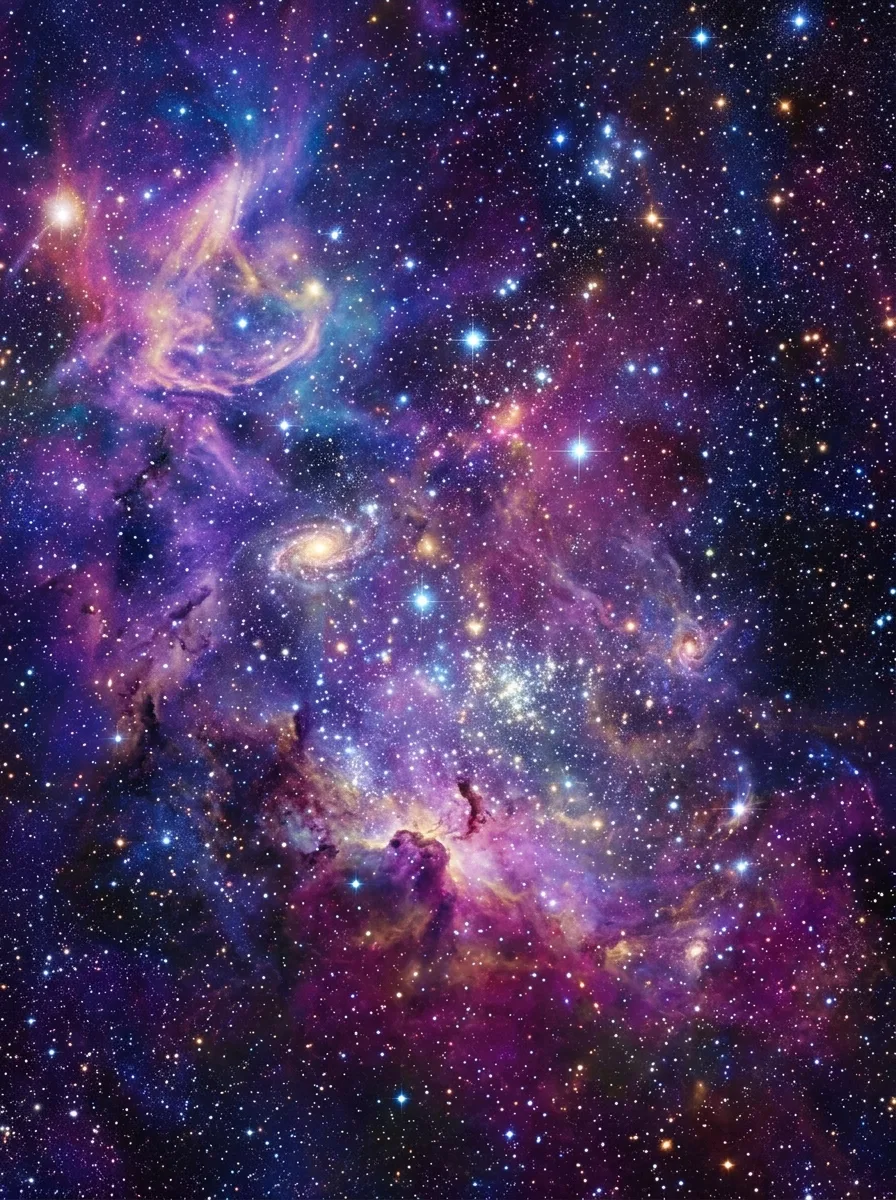
Paint the canvas black or deep navy and let it dry. Sponge on loose clouds of purple, magenta and blue, then dab small amounts of lighter pink and white into the middle of each cloud for the brightest part of the nebula. Finish with flicked white stars, some clustered in the bright areas and some scattered across the dark sky.
Good to know: dab with a barely loaded sponge and build the color in layers; a heavily loaded sponge leaves solid blotches.
5. Shooting Star Pattern
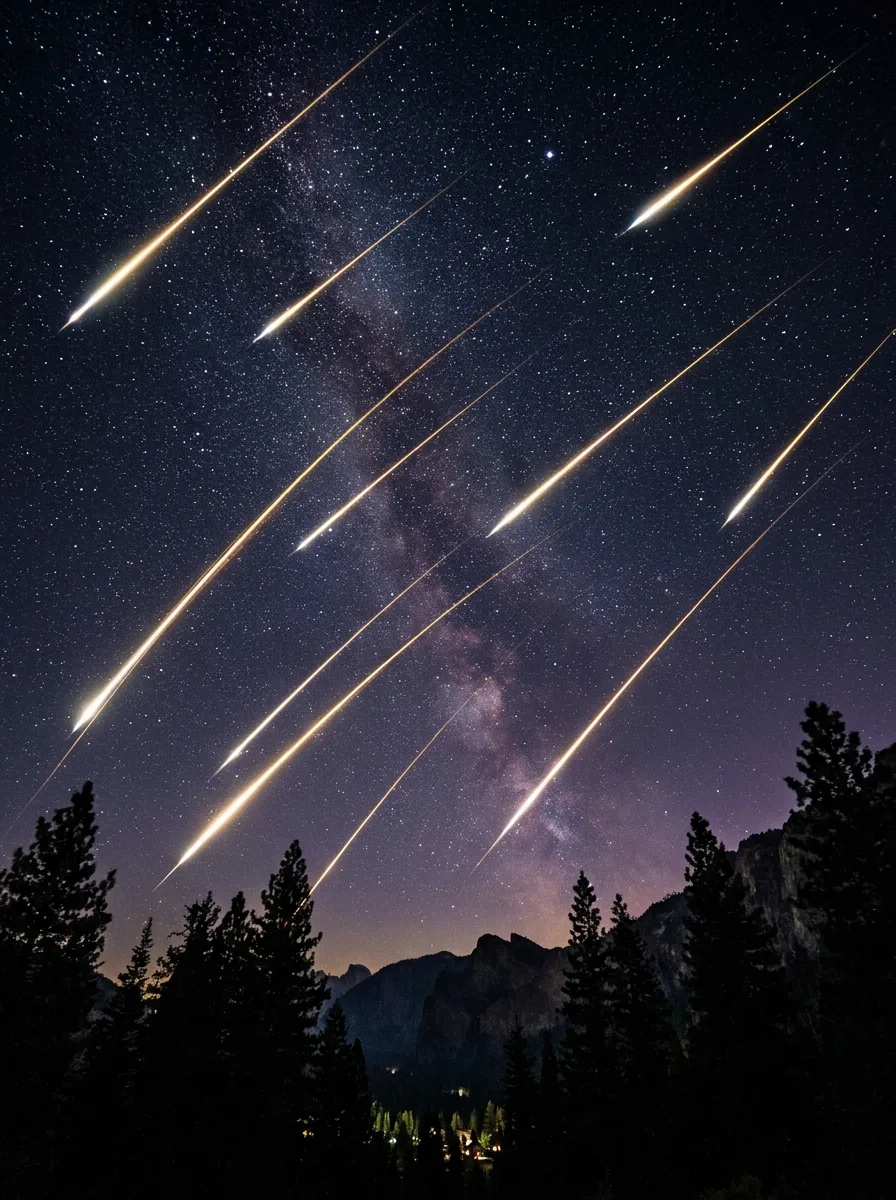
Paint a dark sky with a scattering of small stars and let it dry. Add a few shooting stars: a bright point at the front with a tail that tapers and fades behind it. Paint each tail with one quick stroke of white or pale gold, pressing harder at the head and lifting off as you go. Point the tails in roughly the same direction.
Good to know: shooting stars aren’t stars at all; the National Park Service explains they’re streaks of light from meteor dust burning up in the atmosphere, which is why they look like a fading line.
6. Geometric Star Pattern
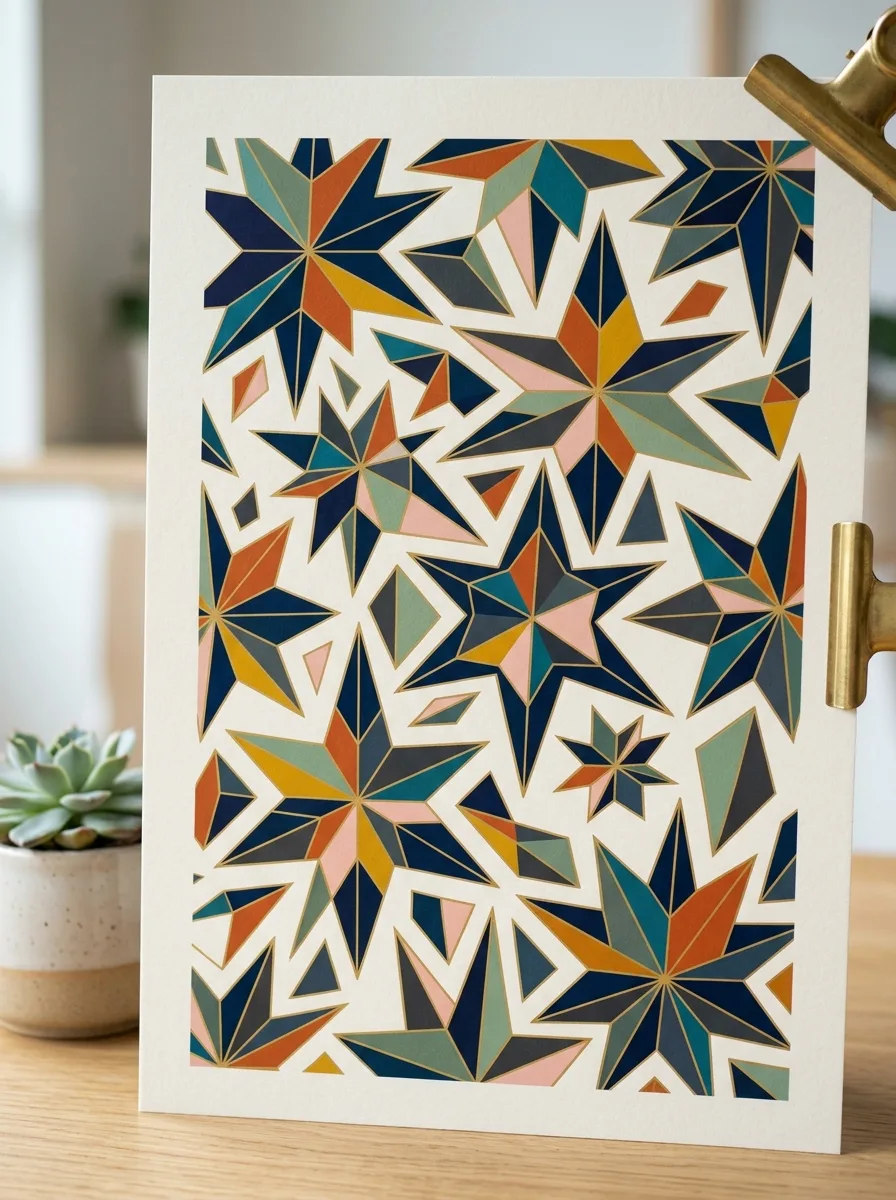
A geometric star is a five- or eight-pointed star divided into facets. Draw the star with a ruler, then draw lines from each point and each inner corner to the center. Paint each facet a different shade of one color, or alternate light and dark facets so the star looks folded. Masking tape along the lines gives crisp edges.
Good to know: press the tape edges down firmly and pull the tape off slowly at a low angle; if paint creeps under, brush a thin coat of the color underneath along the tape edge first to seal it.
7. Pastel Star Pattern
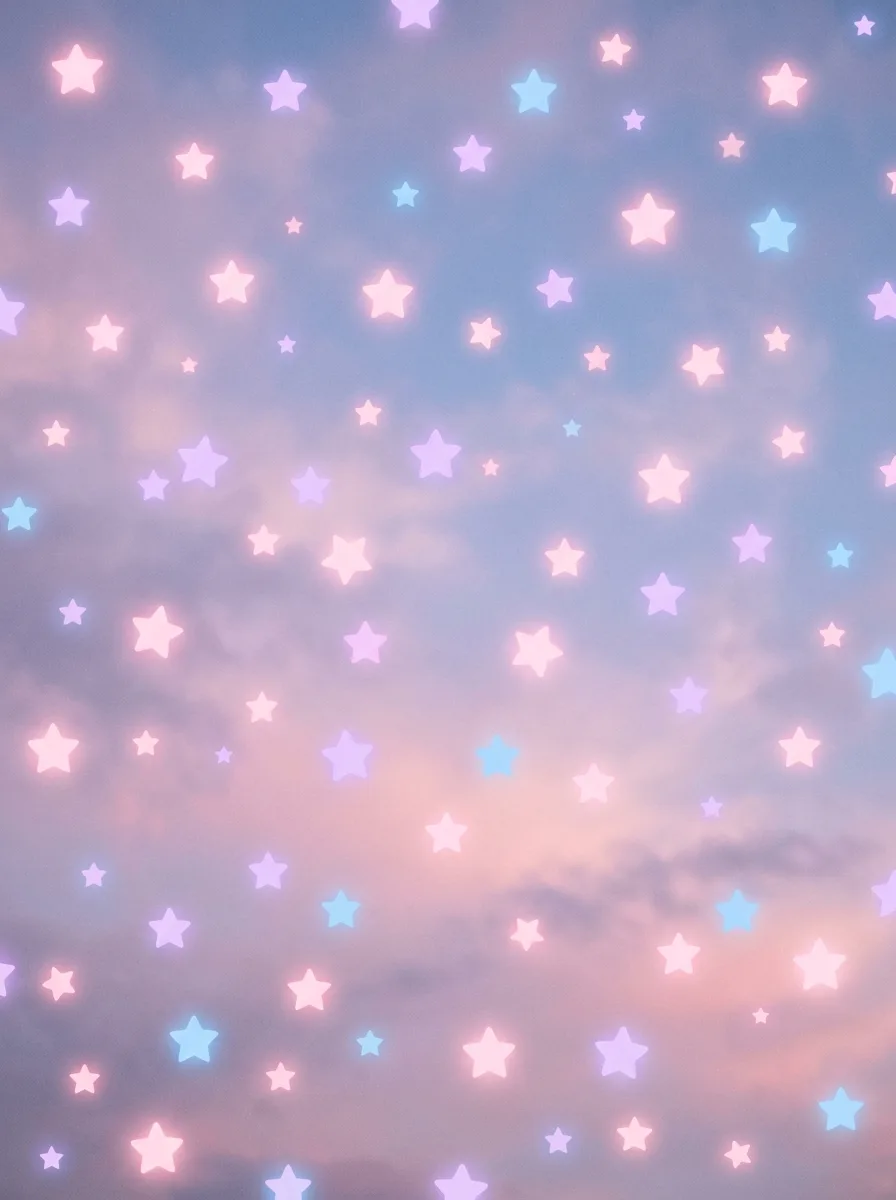
Mix pink, lilac, pale blue and mint with plenty of white, and paint the background in soft blended bands or patches. When it’s dry, add stars in white, cream or pale gold. Because the background is light, outline a few stars in a slightly darker tint so they don’t disappear.
Good to know: white stars vanish on a very pale background, so put them over the deeper tints, such as lilac or blue, and use gold or a darker tint over the palest areas.
8. Constellation Star Pattern
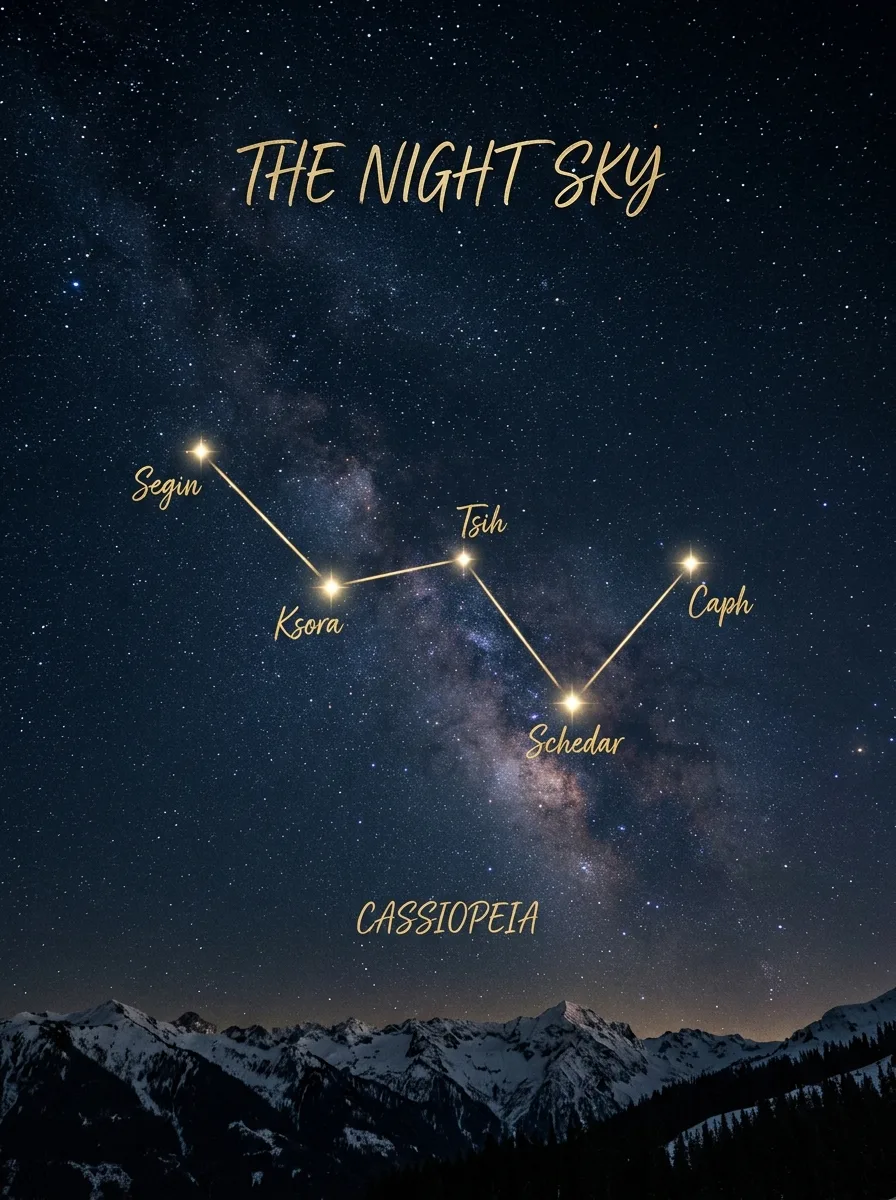
Paint a deep blue sky and let it dry. Copy the star positions of a few real constellations from a star chart or sky app, marking them lightly in chalk. Paint brighter stars as larger dots and fainter ones as smaller dots, then join them with thin white or gold lines using a liner brush or a fine paint pen.
Good to know: some famous star patterns aren’t official constellations; the Big Dipper, for example, is seven bright stars that form part of the constellation Ursa Major.
9. Rainbow Star Pattern
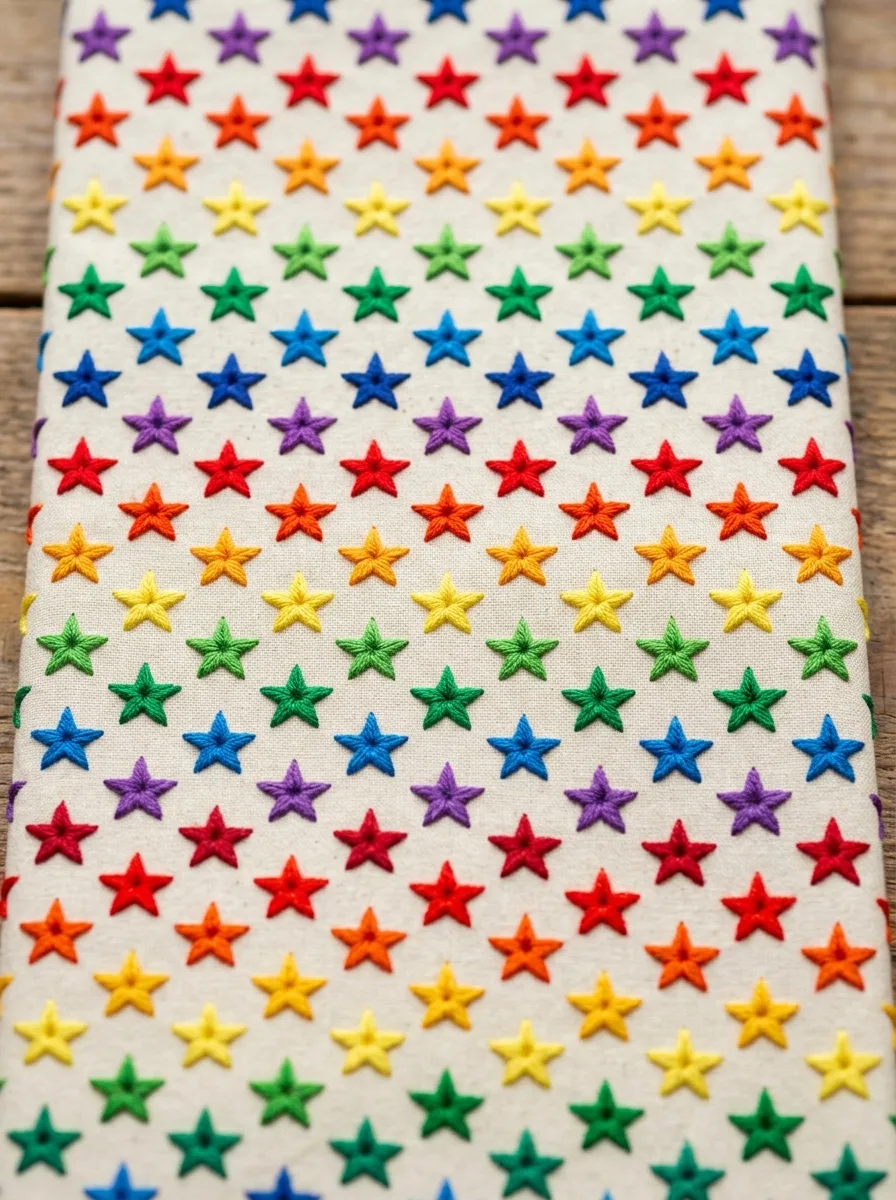
Paint stars in red, orange, yellow, green, blue and purple, either in rows or diagonal bands that follow rainbow order, or scattered at random. A white background keeps the colors bright. For a glow, paint a slightly larger, paler star of the same color behind each one, or outline the stars in white.
Good to know: let each star dry before painting a different color right beside it; wet red touching wet green turns muddy brown.
10. Scattered Mini Star Pattern
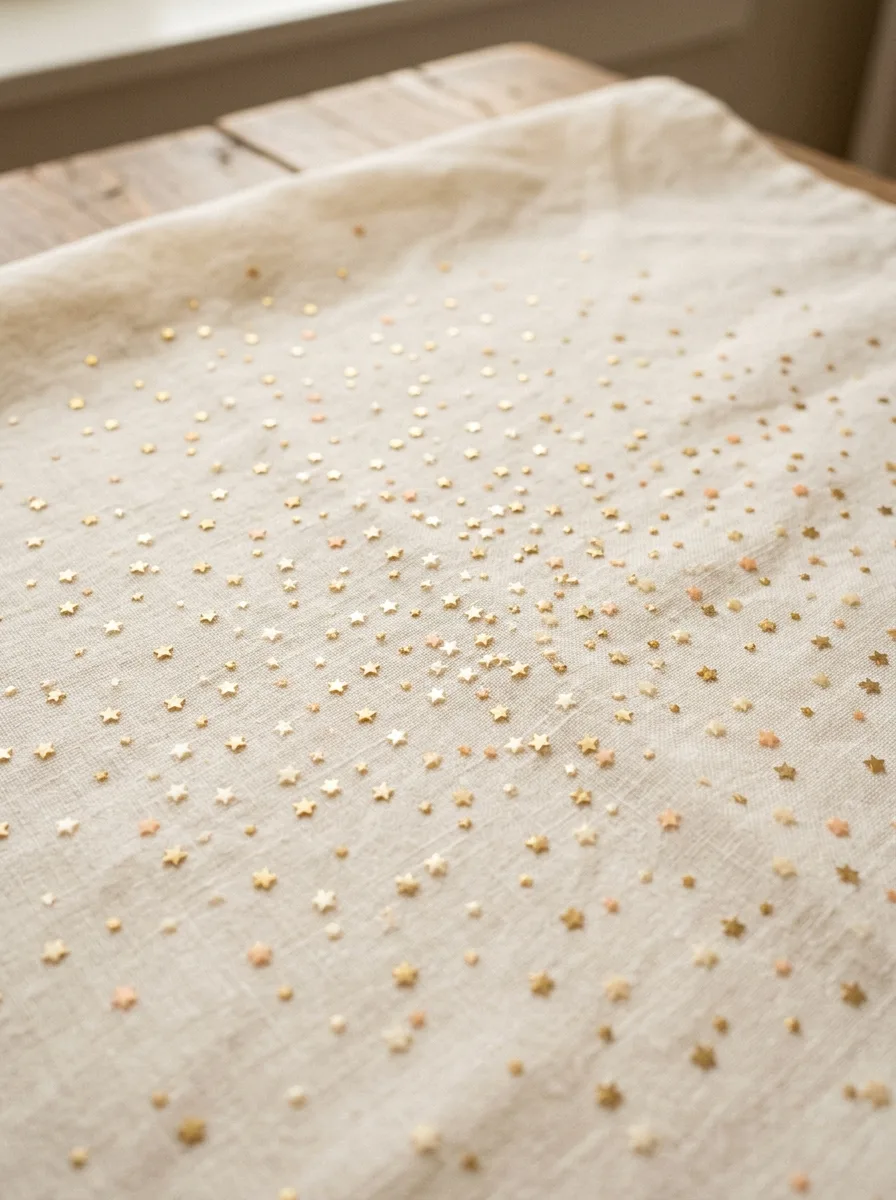
Tiny scattered stars are a quick decoration for notebooks, gift tags and cards. Use a fine paint pen or a small round brush and mix shapes: five-point stars, four-point sparkles, small crosses and dots. Scatter them unevenly, with some areas busier than others, rather than spacing them in a grid.
Good to know: shake a paint pen and press the tip on scrap paper until the paint flows evenly before you start on the real page.
11. Star Mandala Pattern
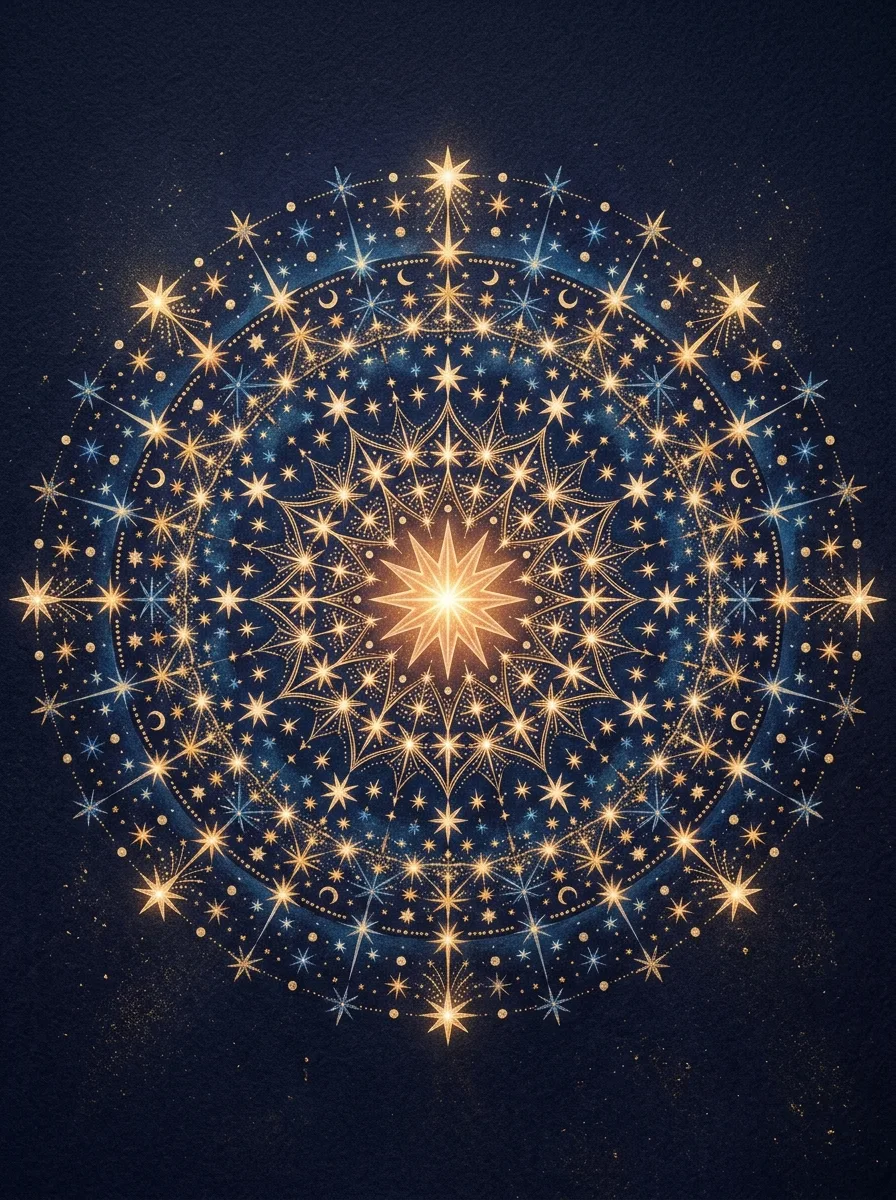
A star mandala repeats shapes in rings around one central star. Find the center of a square canvas or sheet, draw several circles with a compass, and divide them into equal sections with light pencil lines. Paint a star in the center, then fill each ring with one repeated motif, such as small stars, dots or petals, the same in every section.
Good to know: 8 or 12 sections are the easiest to measure: 8 sections are 45 degrees apart and 12 are 30 degrees apart.
12. Doodle Star Pattern
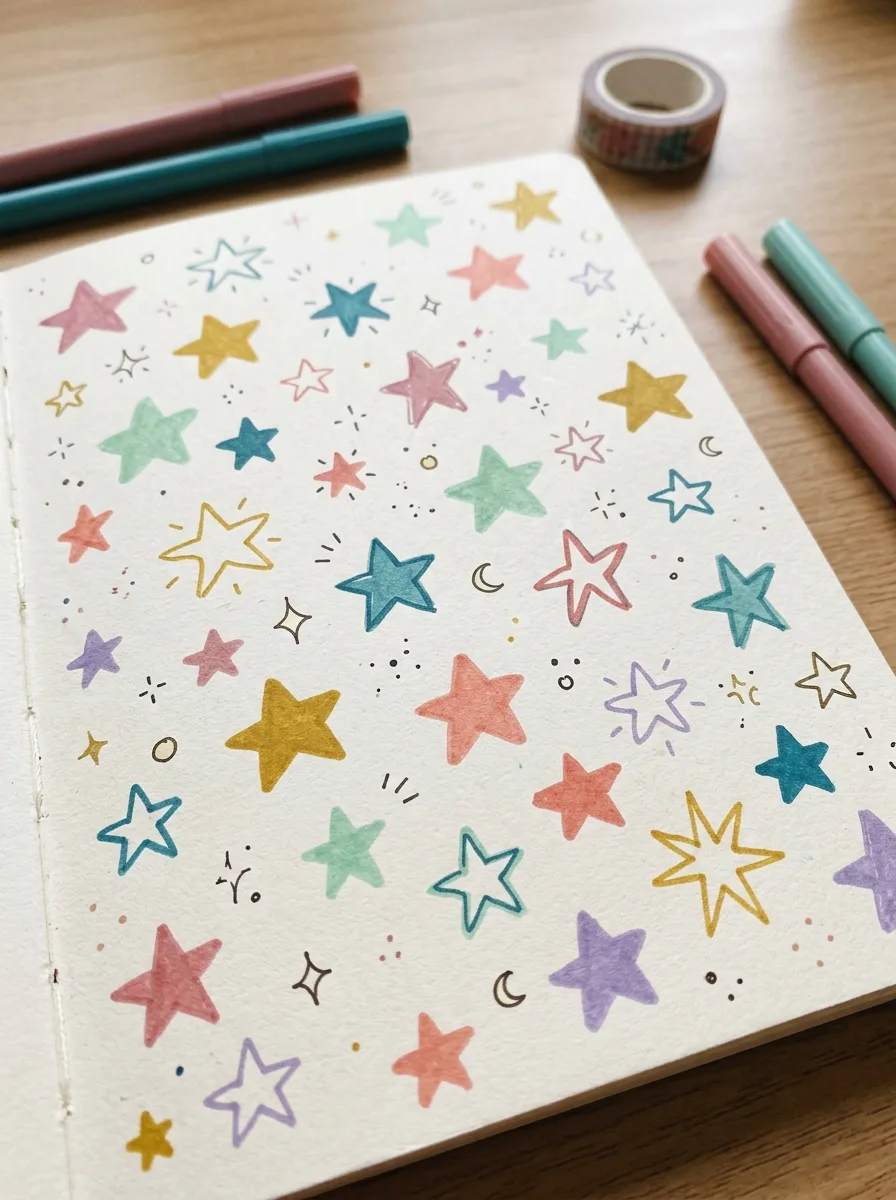
Doodle stars are loose, hand-drawn stars in a mix of styles. Fill a page with outlined stars, solid stars, striped stars, stars with dotted centers and tiny sparkles, turned at different angles. A fine brush or paint pen works on paper, and a black outline around a few colored stars ties the page together.
Good to know: draw each outlined star in one continuous line without lifting the pen; it’s quicker and the slightly uneven points suit the doodle style.
13. Splatter Star Pattern
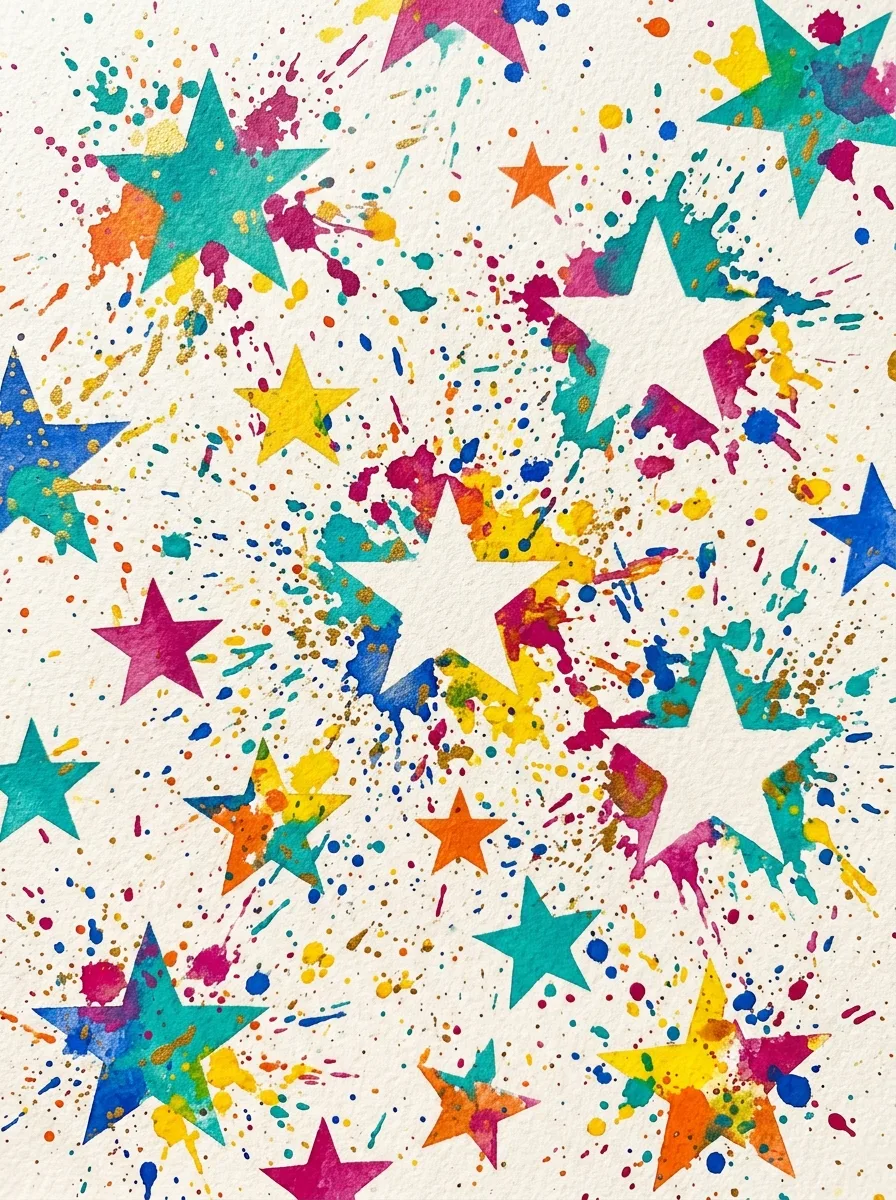
Cut stars from paper or use reusable stencils, and lay them on the page; a dab of removable glue stick keeps them flat. Load a brush or old toothbrush with slightly thinned paint and flick it across the page in two or three colors. When it’s dry, lift the stars to reveal clean shapes in the splattered background.
Good to know: cover the table and nearby walls before flicking, since splatter travels farther than you expect; with kids, work outdoors if you can.
14. Ombre Star Pattern
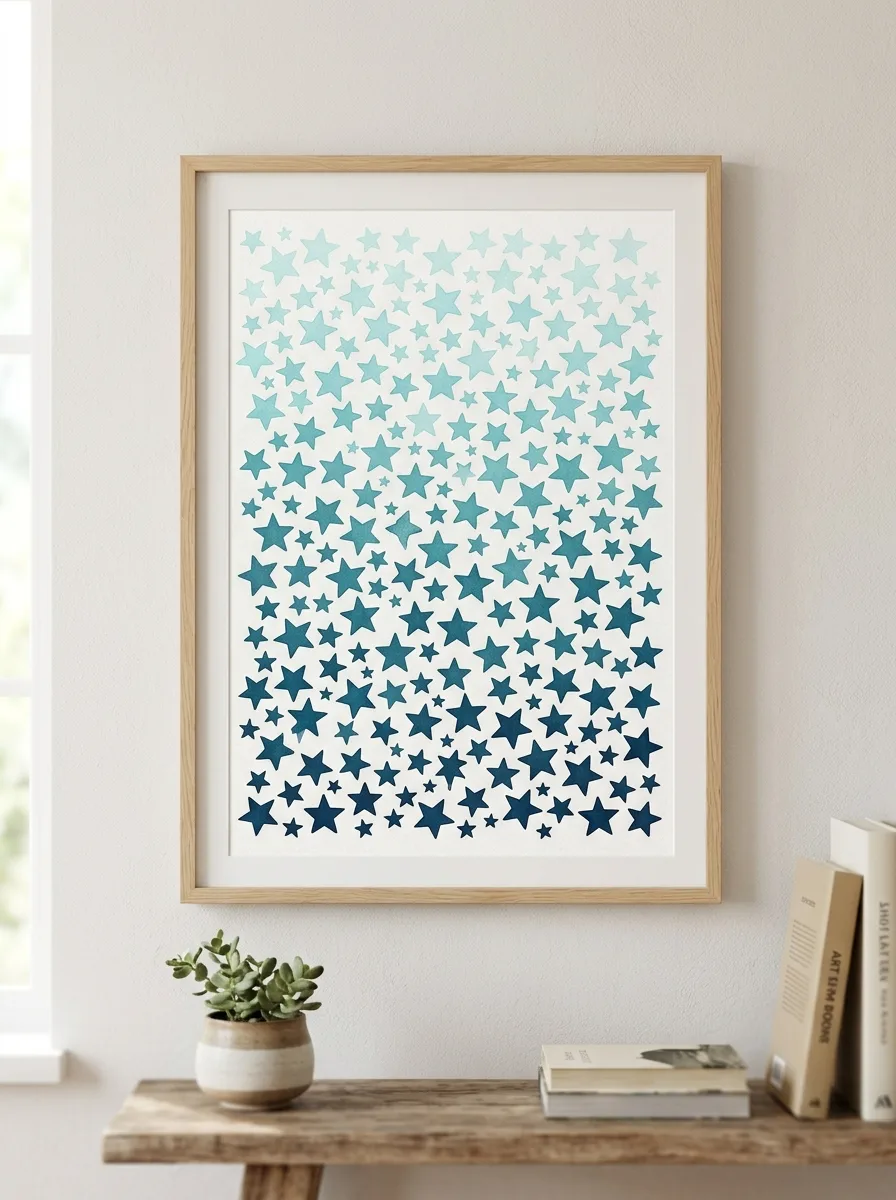
Choose one color and mix four or five shades from light to dark, adding white or a darker color step by step. Paint the top row of stars in the lightest shade and work down, one shade per row, to the darkest at the bottom. Keep the steps between shades even for a smooth fade.
Good to know: mix every shade before you start and lay them out in order on the palette so you don’t lose track of which shade belongs to which row.
15. Stamped Star Pattern
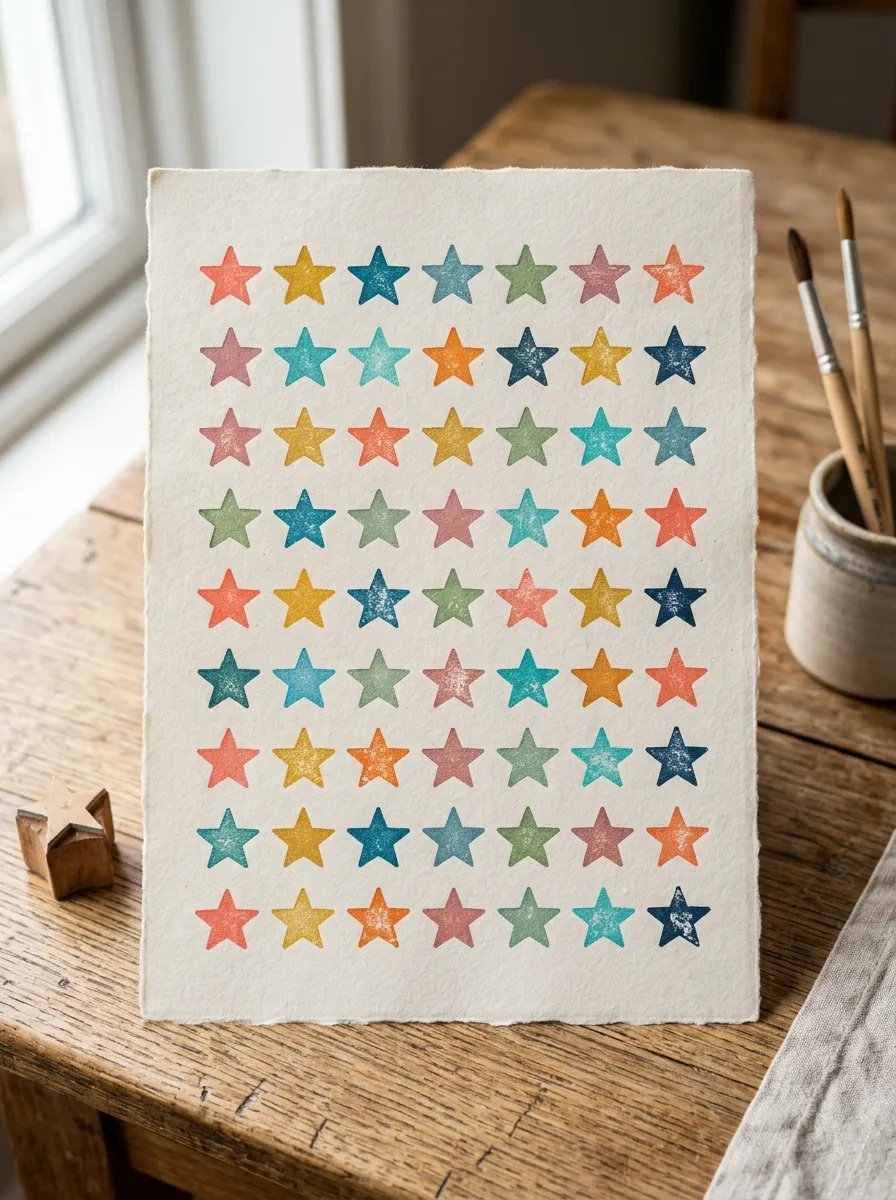
A homemade stamp repeats the same star quickly. An adult can cut a star into the flat face of a halved potato with a small knife or cookie cutter, or cut a star from a kitchen sponge. Blot the cut surface dry, brush on paint, press it onto paper and lift straight up. Stamp rows for wrapping paper or scatter stars on cards.
Good to know: for a tote bag or T-shirt, use fabric paint and follow the maker’s directions for drying and heat-setting before washing.
16. Starburst Pattern
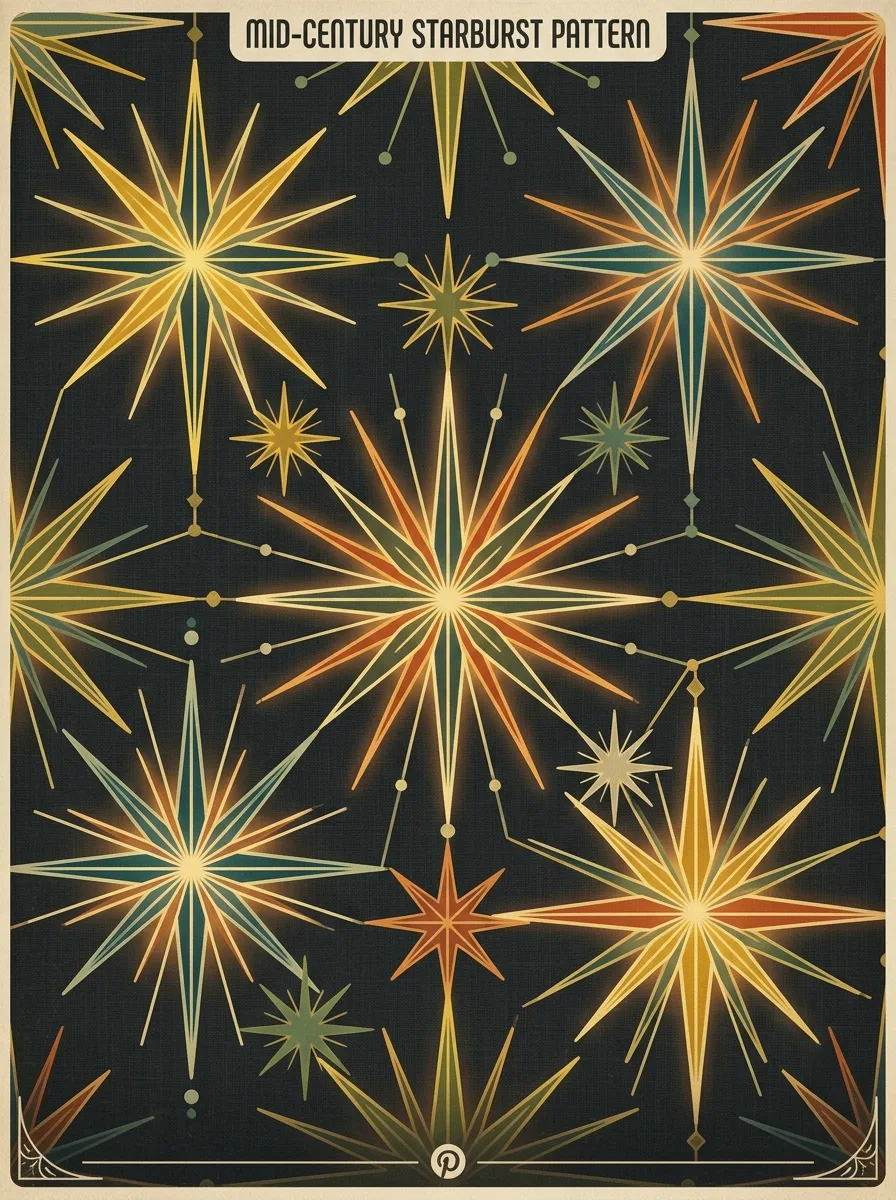
A starburst is a set of lines radiating from one point, a shape common in mid-century design. Mark the center, then paint thin straight lines outward with a liner brush, alternating long and short lines, and add a small dot at the center. Repeat bursts in several sizes. They also work as fireworks; see these summer window painting ideas for painting them on glass.
Good to know: turn the canvas as you go so you always pull each line toward you; straight lines are easier when you aren’t painting sideways.
17. Neon Star Pattern
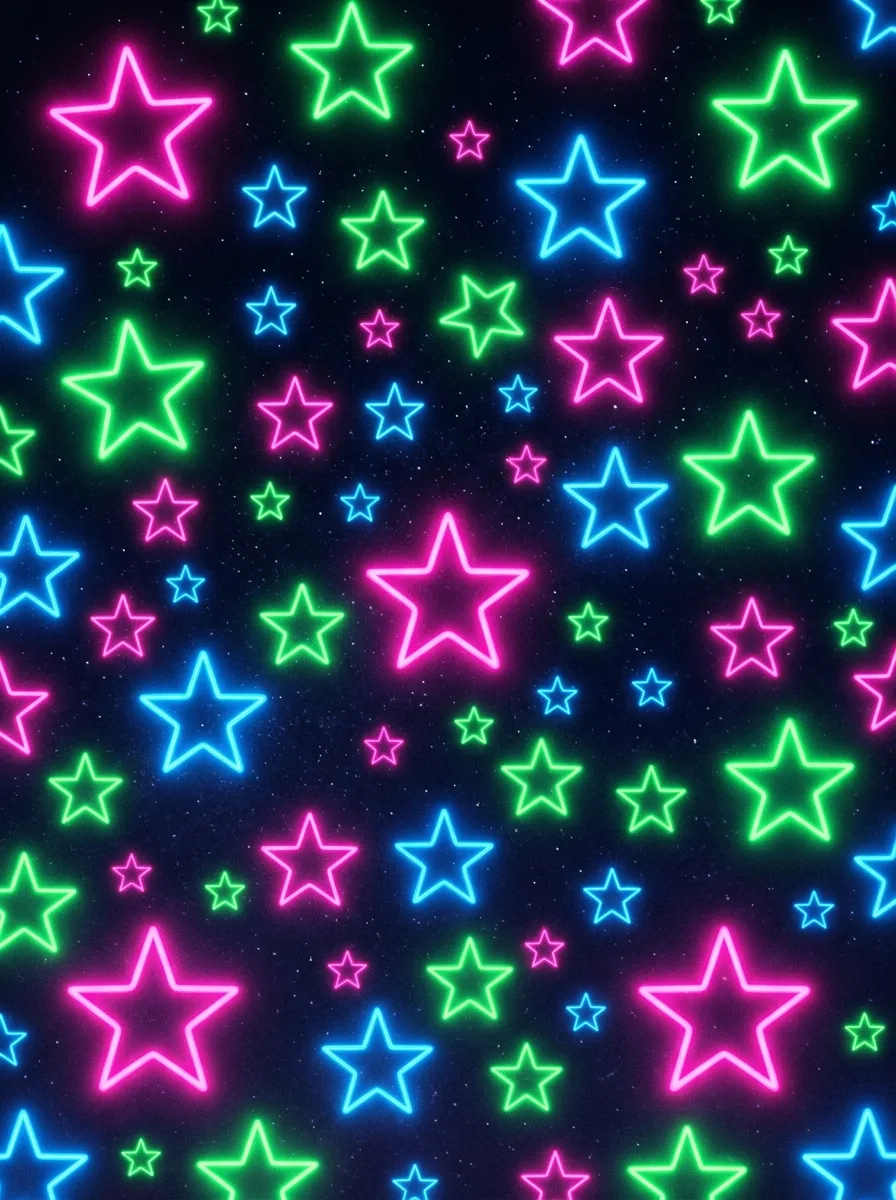
Neon colors stand out most against black or deep navy. Paint the background and let it dry, then add stars in fluorescent acrylics or neon paint pens in a mix of sizes. Outlining a few stars twice, with a small gap between the two lines, suggests a glowing neon tube.
Good to know: Golden notes that its fluorescent colors are not lightfast, so they fade over time; hang neon paintings away from direct sunlight.
18. Nordic Star Pattern
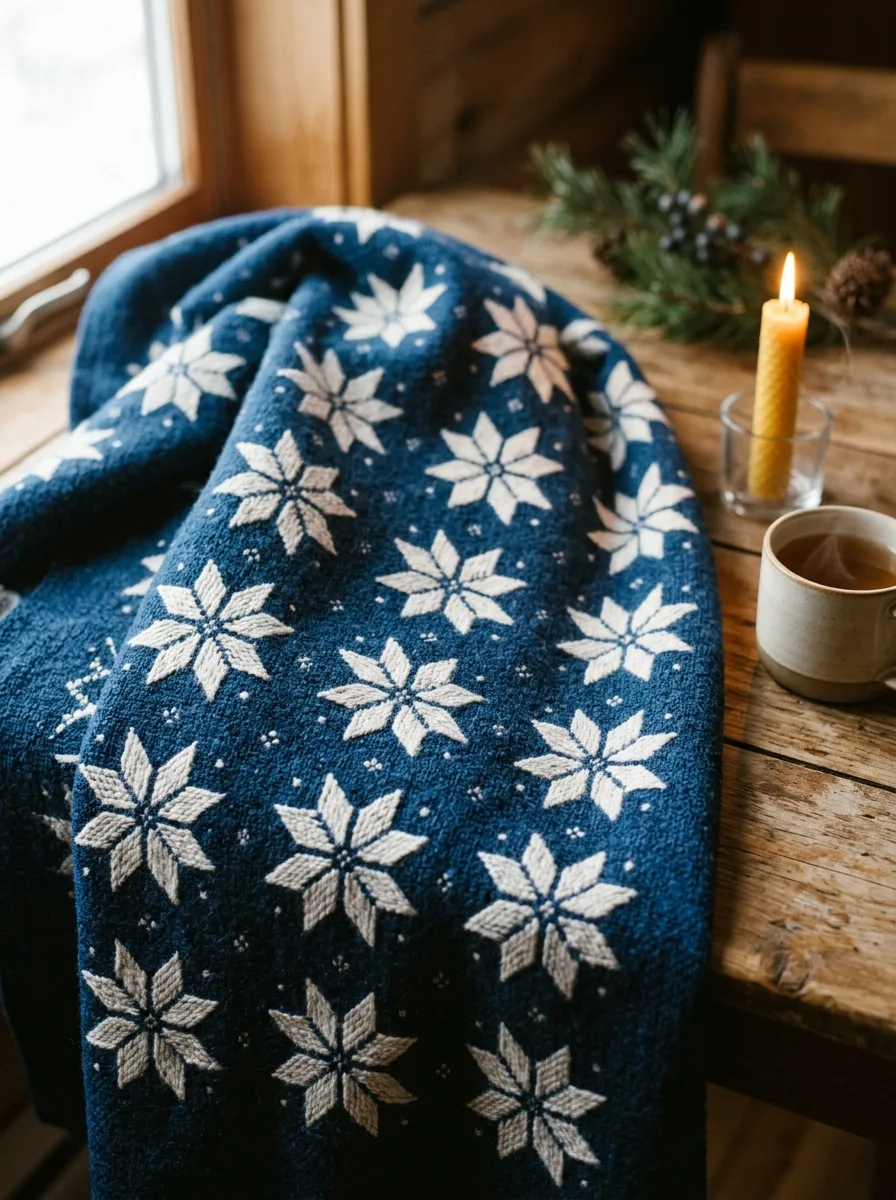
Norwegian knitting often uses an eight-pointed star, the selburose, named after the town of Selbu. Draw a light grid, then draw each star as eight diamond-shaped points meeting at the center. Paint the stars in white or cream on dark red, navy or gray, in evenly spaced rows, and add small dots or crosses between them like a knitted pattern.
Good to know: draw one star on graph paper, cut it out and trace around it as a template so every star matches.
19. Glitter Star Pattern
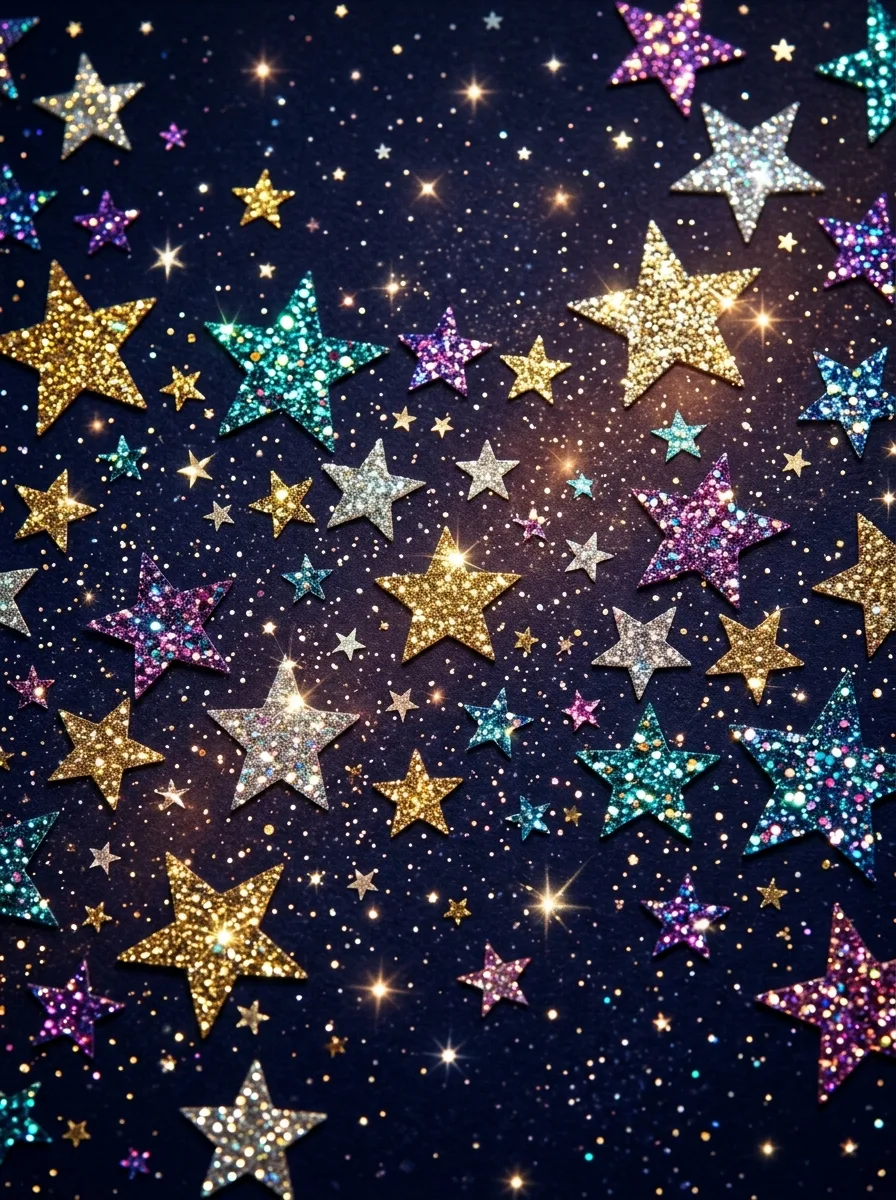
Draw stars on card with craft glue, or paint them with a thin layer of glue, then sprinkle glitter over the wet glue. Tap the excess onto a folded sheet of paper and pour it back into the jar. When the glue is dry, brush on a thin coat of decoupage medium to keep the glitter from shedding.
Good to know: work over a tray, keep loose glitter away from eyes, and give young children glitter glue pens, which are easier to control than loose glitter.
20. Moon and Star Pattern
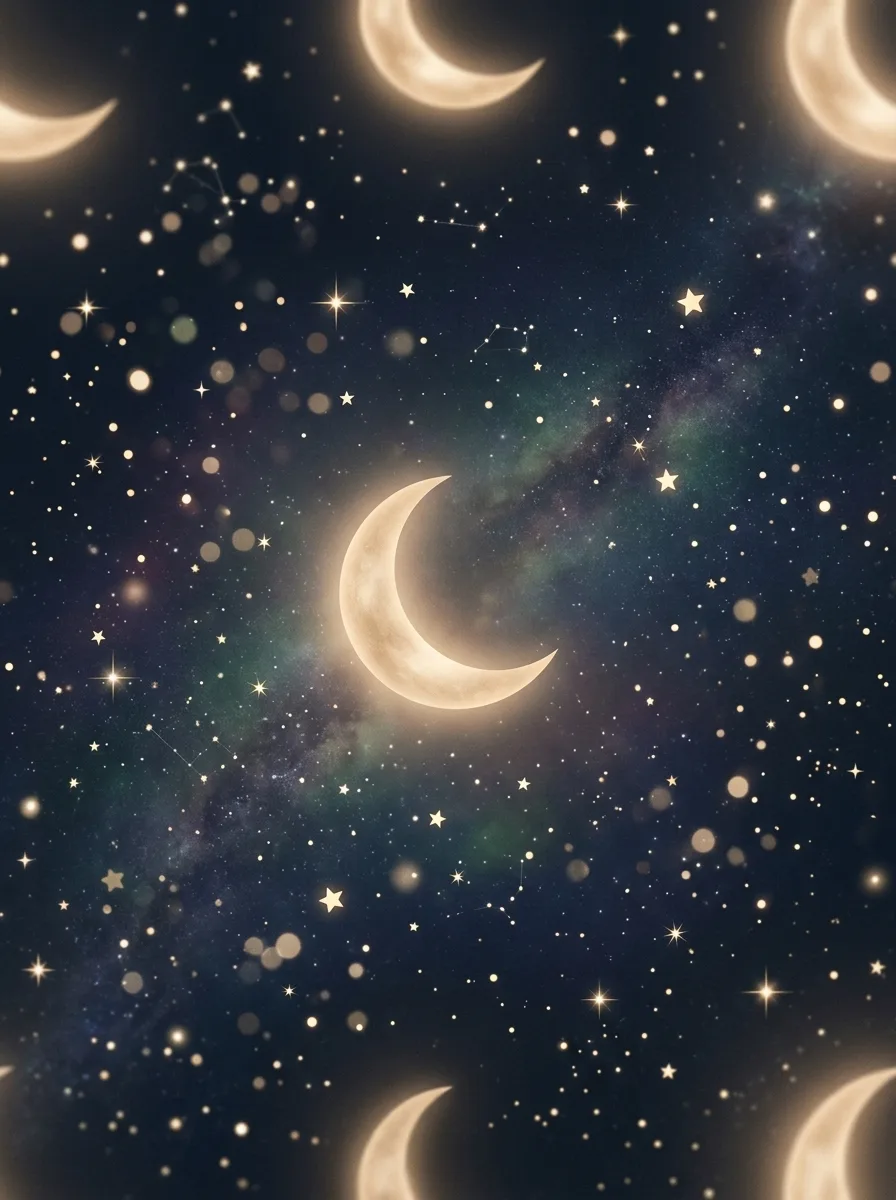
Paint a soft night sky in blue or purple and let it dry. Add a crescent or full moon a little off center, then dot stars around it in white and pale gold, larger near the moon and smaller toward the edges. These moon painting ideas show more ways to paint the moon itself.
Good to know: keep the stars outside the moon’s outline; even the dark part of a crescent blocks the stars behind it.
21. Star Cluster Pattern
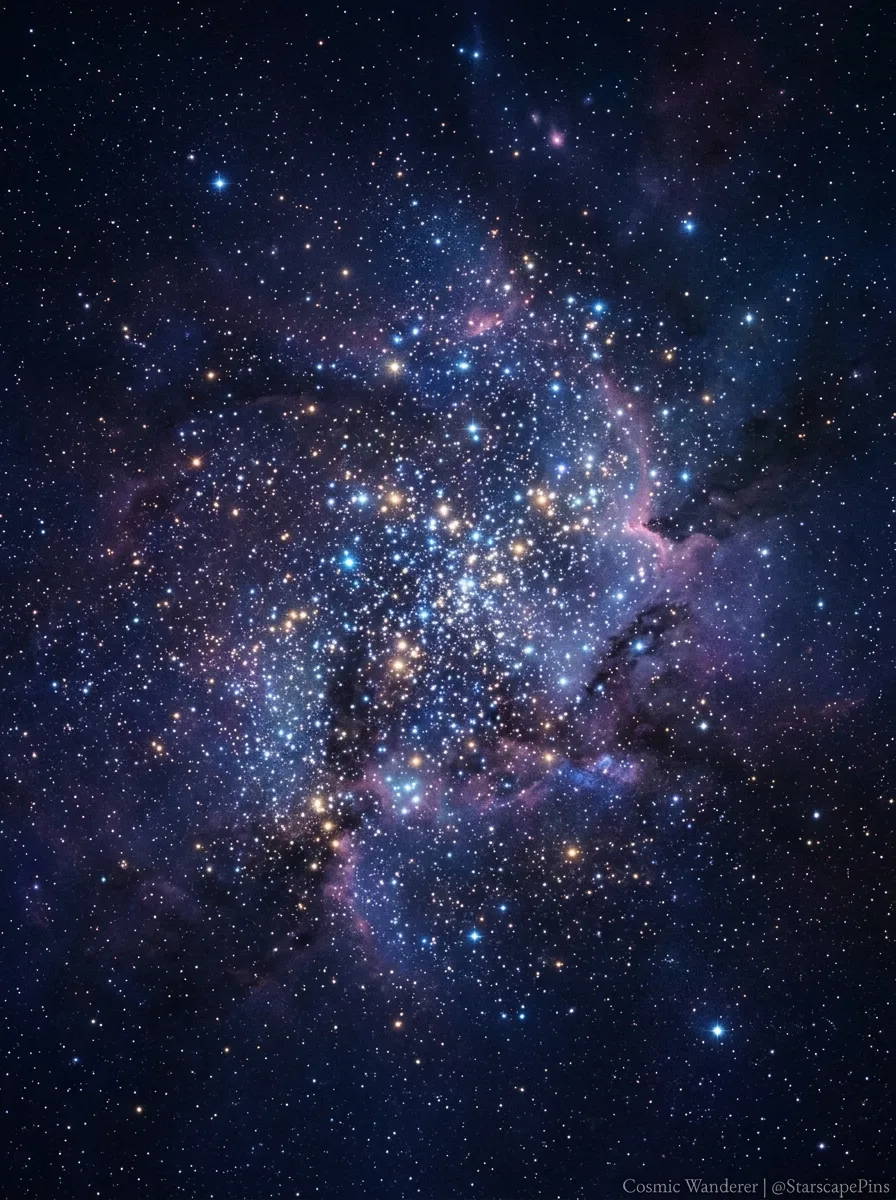
A star cluster is a tight group of stars. Paint a dark sky, then dab a soft, faint glow of pale blue or white where each cluster will sit. Dot tiny white and pale yellow stars thickly into the glow, with fewer toward the edges, and add one or two larger stars to each group. Leave darker sky between the clusters.
Good to know: for a real example, look at photos of the Pleiades, also called the Seven Sisters, a well-known star cluster that’s easy to see without a telescope.
22. Vintage Star Pattern

A vintage look uses muted colors on a warm, aged background. Paint the background cream or tan, then brush a thin, uneven glaze of raw umber over it and wipe some away with a rag. Paint stars in muted gold, rust and dusty blue, mixing a little of the background color into each paint to soften it.
Good to know: a slightly dry brush leaves broken, worn-looking edges; on a wooden panel, lightly sanding the dry paint gives a similar effect.
23. Tie Dye Star Pattern
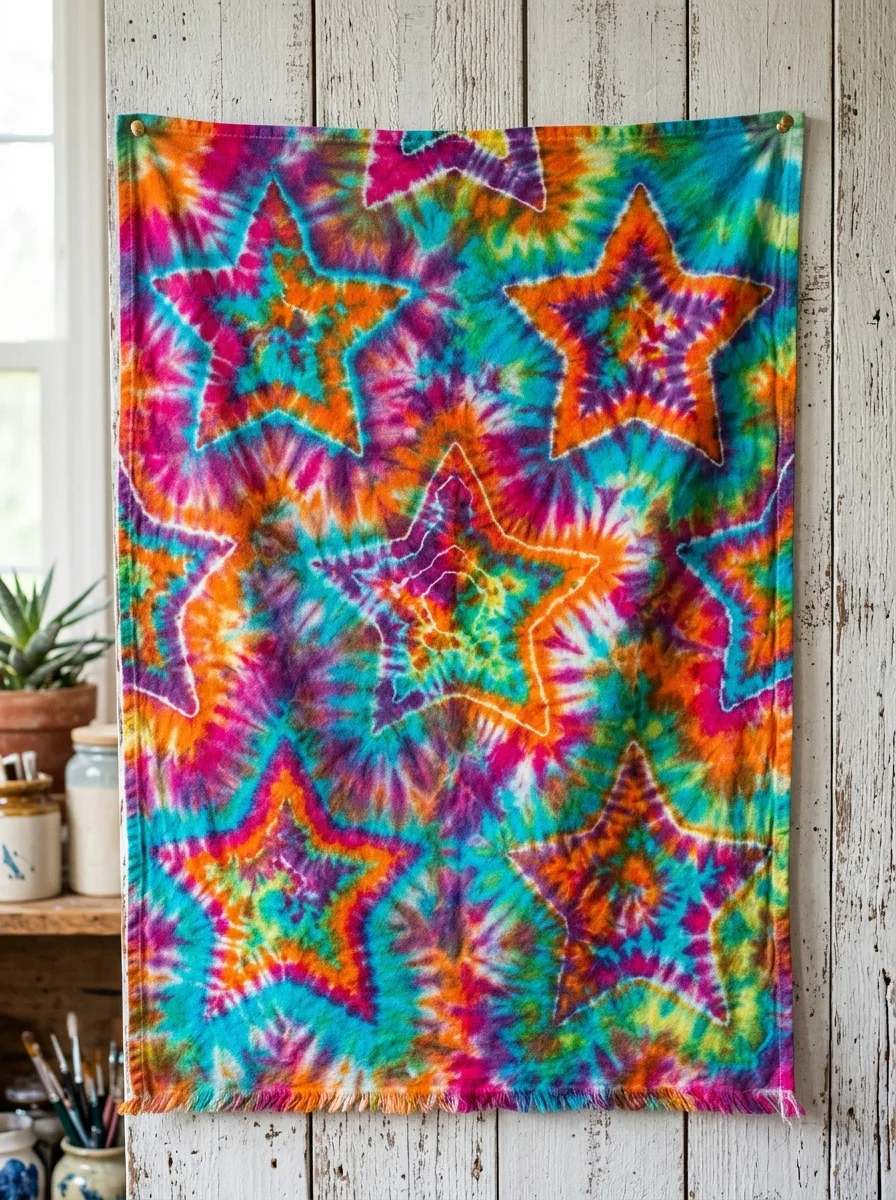
Outline large stars in pencil or with masking tape. Working one star at a time, paint stripes or a spiral of two or three bright colors inside it and let them blend while wet. Watercolor or fluid acrylic works best because the colors flow into each other. Outline each finished star in white or black.
Good to know: choose colors that sit next to each other on the color wheel, such as pink, orange and yellow; opposite colors such as red and green turn brown where they blend.
24. Checkered Star Pattern
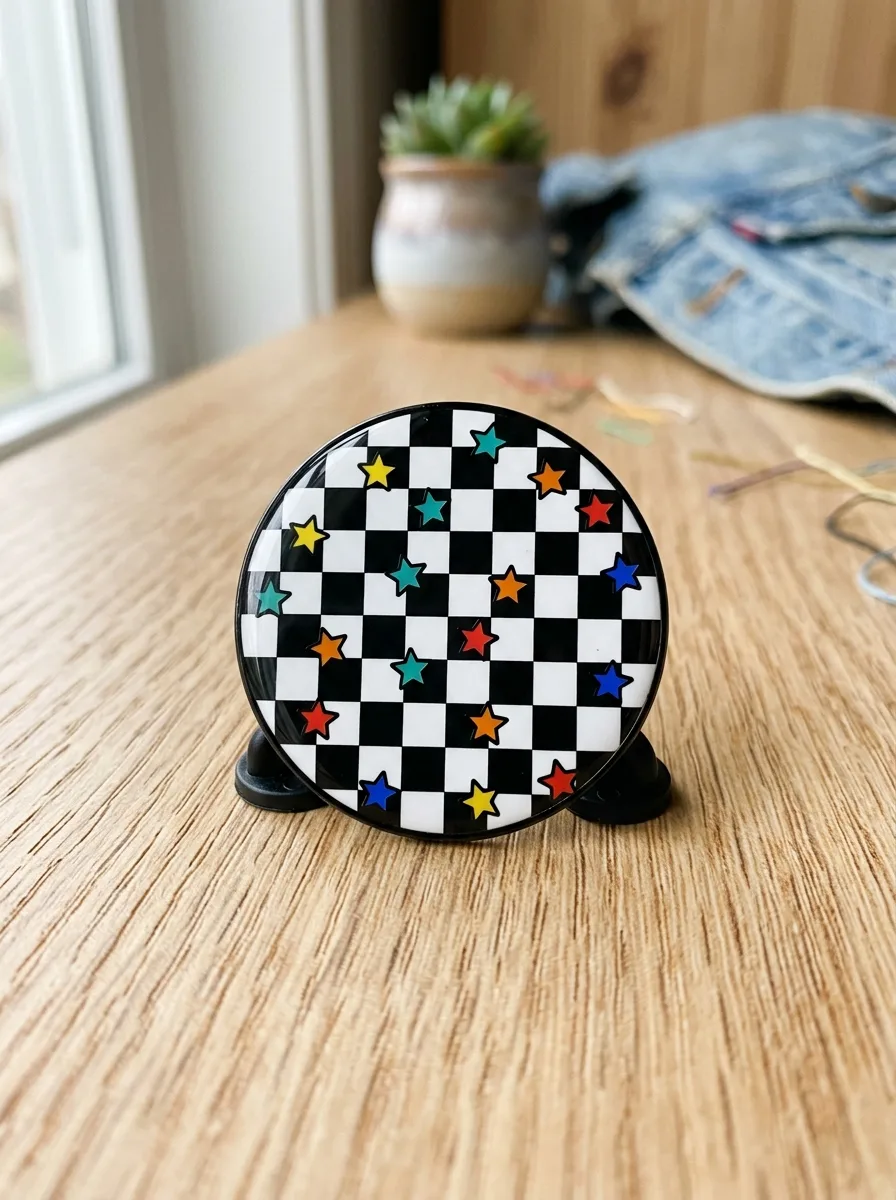
Draw a grid of equal squares with a ruler, or mask it with tape, and paint alternate squares in two colors. When it’s dry, add stars in a third color, one in every few squares or scattered across the grid. A wavy grid gives a hand-painted, retro look. These patchwork painting ideas have more grid and block designs.
Good to know: paint every square of the first color, let them dry, then paint the second color; doing both at once smudges the corners.
25. Northern Lights Star Pattern
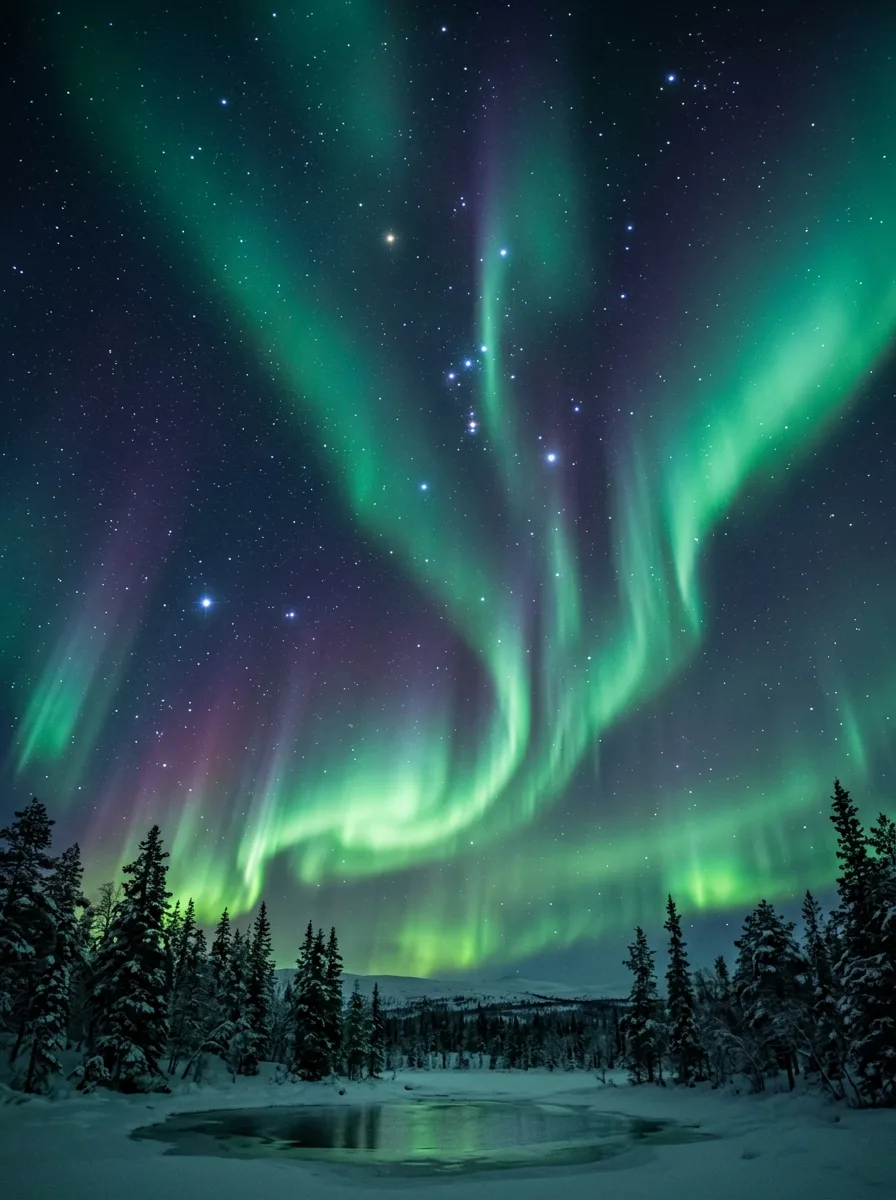
Paint a dark sky and let it dry. Brush or sponge on curving vertical curtains of green, fading them out toward the top, and add touches of pink or purple at the edges. Flick white stars across the sky, letting a few show through the thinner parts of the aurora, and paint a dark line of hills or trees along the bottom.
Good to know: NASA notes that green is the most common aurora color, produced by oxygen about 60 to 120 miles up; red comes from higher up and pink along the lower edge, so keep green as the main color.
Common mistakes to avoid
- Making every star the same size and spacing them evenly, which looks like wallpaper rather than a sky.
- Painting light stars on a light background without enough contrast.
- Pulling off tape without pressing the edges down first, so paint bleeds underneath.
- Blending opposite colors, such as red and green, until they turn muddy.
- Hanging paintings made with fluorescent paint in direct sunlight.
- Leaving glitter unsealed, so it sheds everywhere.
Star painting FAQs
How do you paint small stars neatly?
Use a fine paint pen, the end of a brush handle for dots, or a small round brush with paint thinned slightly with water. For tiny specks, flick white paint from an old toothbrush.
How do you draw an even five-pointed star?
Draw a circle, mark five points 72 degrees apart around it, then join every second point with straight lines.
What paint should I use for stars on fabric?
Fabric paint, or acrylic mixed with a fabric medium, and follow the maker’s directions for drying and heat-setting before you wash it.
Do star paintings need varnish?
Acrylic paintings don’t need it, but varnish protects them from dust and handling once the paint has fully dried. Seal glitter so it doesn’t shed.


2 Comments